The Push to API connector source lets you send JSON data to Yext via API to create and update entities in the Knowledge Graph.
Step 1: Create the Connector
- Navigate to Knowledge Graph > Entities and click + Add Data.
- Click Build Connector.
- Select Push to API as the connector source.
Step 2: Generate an API Endpoint URL
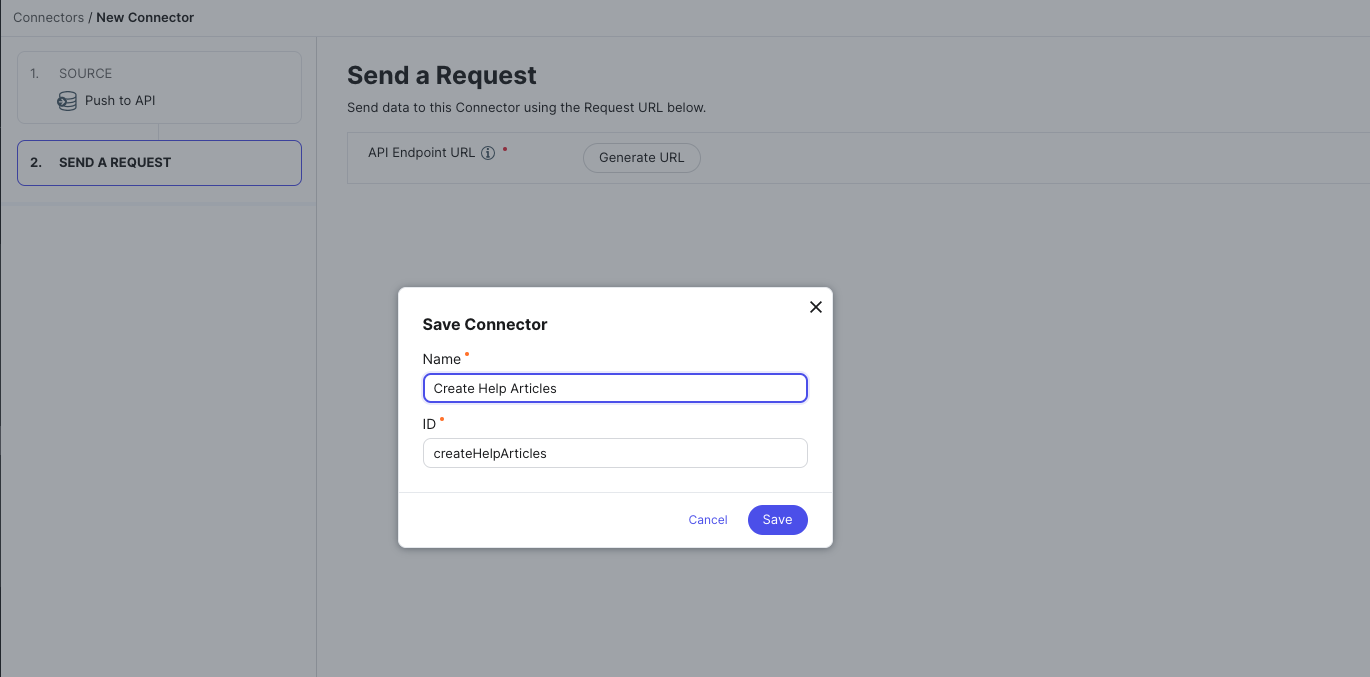
- Click Generate URL.
- In the modal that appears, enter a name for your connector and click Save.
This automatically creates a new app in the Yext Developer Console with Read/Write permission on the Connectors API endpoint. Your endpoint URL is generated with a correctly permissioned API key included.
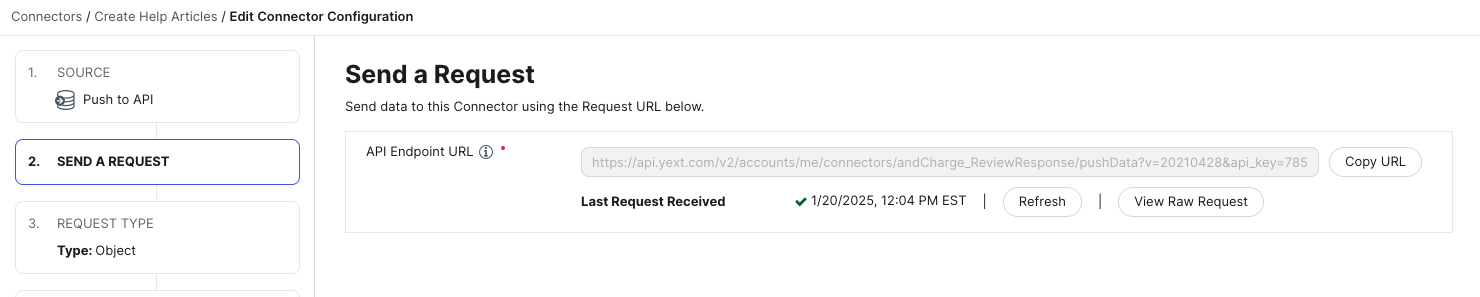
Copy this URL — you will use it to POST data to the connector.
Step 3: Send a POST Request
Once you have your endpoint URL, copy it and use it to send a POST request from your app or API client.
Example request body:
{
  "articles": [
    {
      "id": "KJK2L9",
      "title": "How to Build a Pull Connector",
      "author": {
        "name": "Yext",
        "id": "1203452"
      },
      "labels": ["documentation", "hitchhiker_guide"]
    },
    {
      "id": "JAO12T",
      "title": "How to Build a Push Connector",
      "author": {
        "name": "Yext",
        "id": "1203452"
      },
      "labels": ["documentation", "hitchhiker_guide"]
    }
  ]
}
Once you post your request to your custom endpoint, click the Refresh button. You should now see the timestamp of your most recent request. Click View Raw Request to view the raw JSON data and API logs.
Step 4: Specify the Request Type
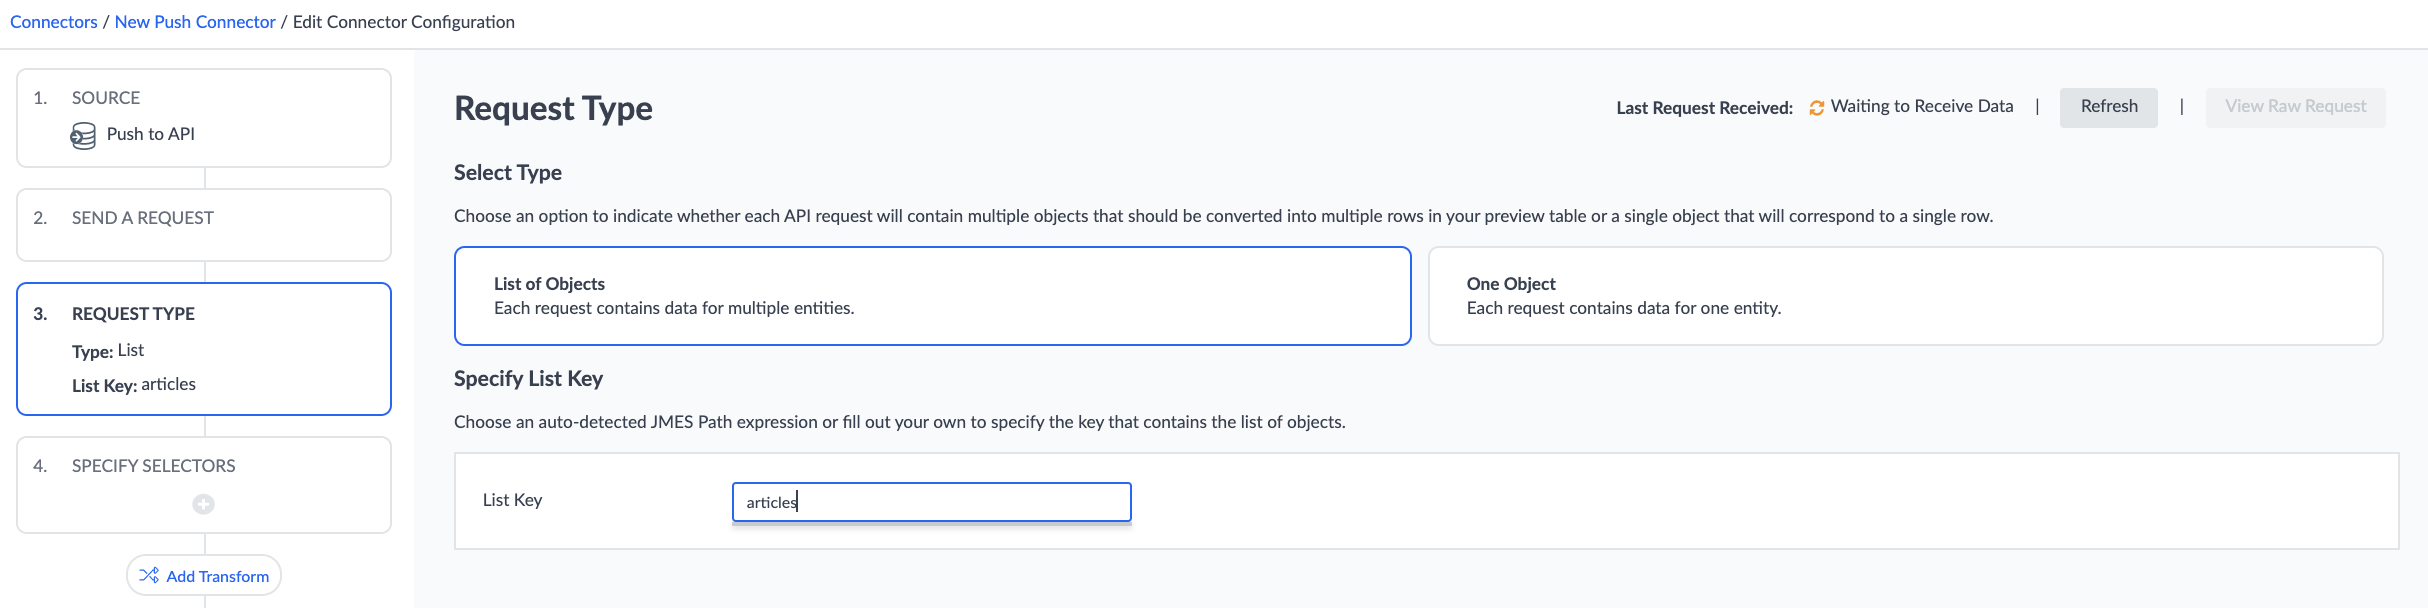
Next, you will need to specify whether each individual API request will contain one object or a list of objects.
If each request contains a list of objects, you will need to add the JMESPath syntax for the object container.
In the example from the previous step, the request contains a list of objects (two separate help articles). The list is contained under articles, so we will specify articles as the List Key.
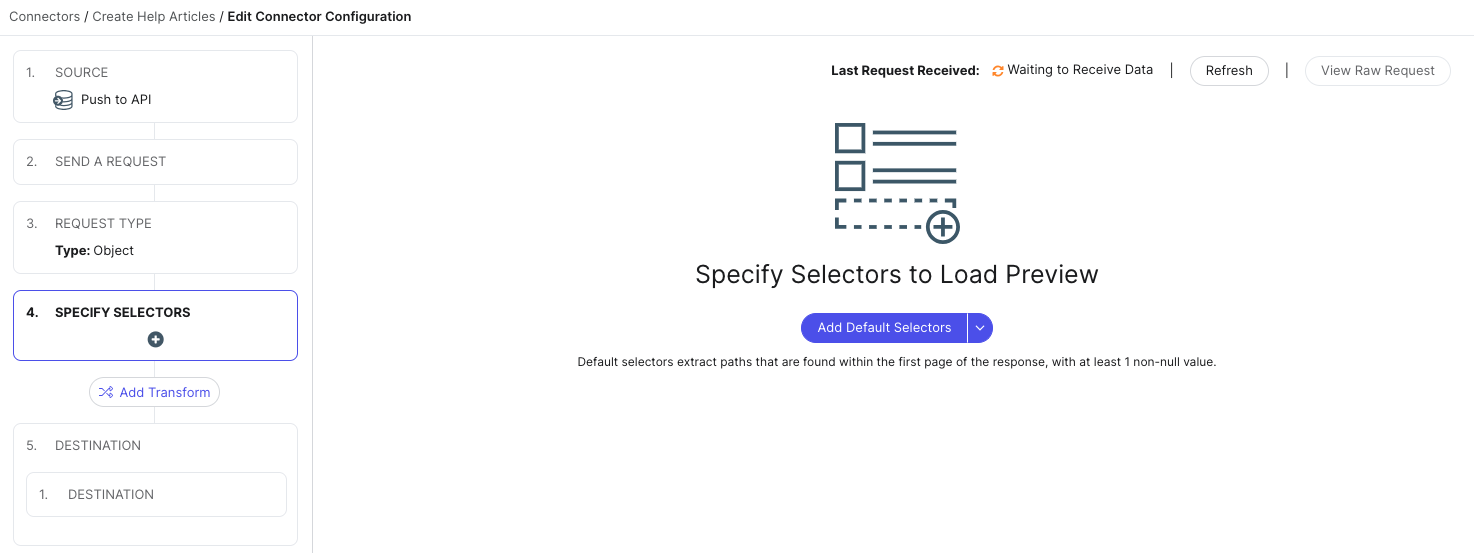
Step 5: Specify Selectors
Selectors define which fields to extract from the pushed data and how to label them in the connector. For full details, see Selectors.
Add Default Selectors
Click Add Default Selectors to pull in all identified selectors. You will have the option to make any adjustments as needed.
Add Selectors Manually
If you prefer to add selectors manually, follow these steps:
- Click + Add Selector.
- Enter the Header — this will be the column header in your data preview.
- Enter the JMESPath syntax for the specific element you want to extract from your API request.
- Click Save to add one selector, or Save & Add Another to add multiple.
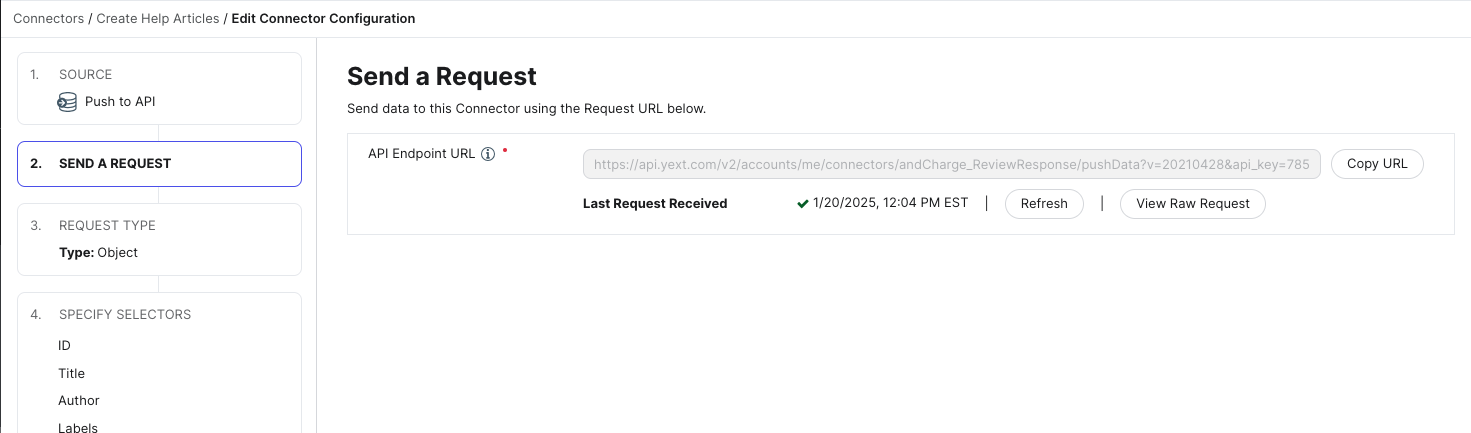
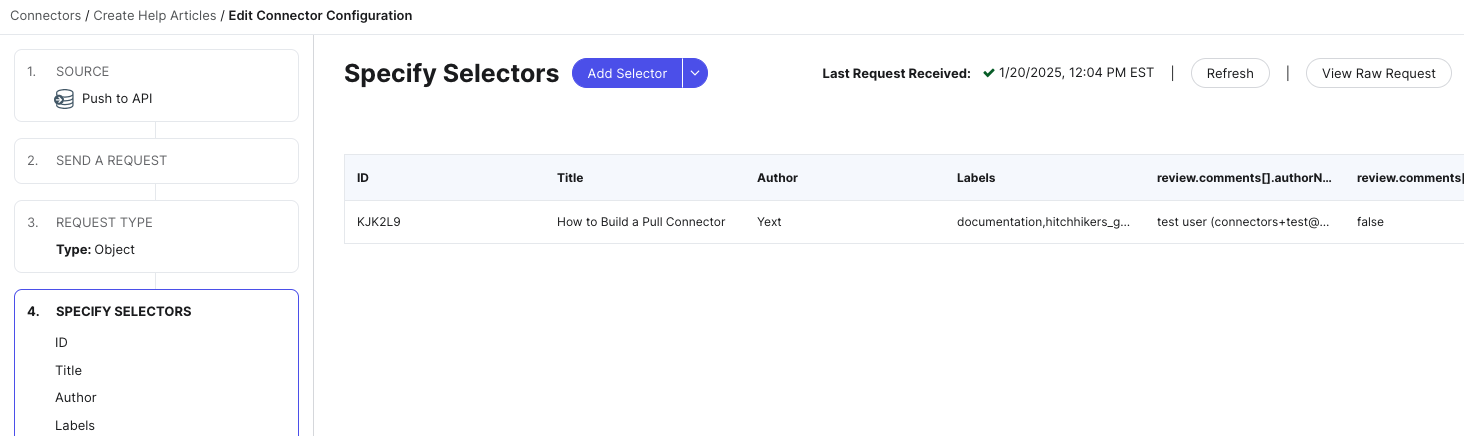
Following our example, we want to pull in ID, Title, Author Name, and Labels, so we will specify these selectors:
- ID:
id - Title:
title - Author:
author.name - Labels:
labels
Once you have added all of your selectors, you should see a table with some sample data.
Step 6: Add Transforms and Map Data
Optionally add transforms to clean or manipulate data before mapping. Then map connector columns to fields on your entity type. For details, see:
Step 7: Enable Automatic Runs
After saving your connector, you will be brought to the Connector Summary page. You can also reach this page by navigating to Knowledge Graph > Connectors and selecting your connector.
- If you clicked Save and Run Now when saving, the connector will already show as Enabled.
- If you clicked Save, toggle Enabled to On.
When enabled, the connector will run automatically every time data is posted to your API endpoint.