This article will guide you through the process of setting up Yext Data Sharing with your Snowflake account.
There are three (3) key steps:
- Request access through the Snowflake Marketplace Listing
- Create the Data Share in the Admin Console
- Import the Data Share into your Snowflake warehouse
Step 1: Request Access Through Snowflake Marketplace
Yext Data Sharing will be made available via a personalized listing on the Snowflake Marketplace
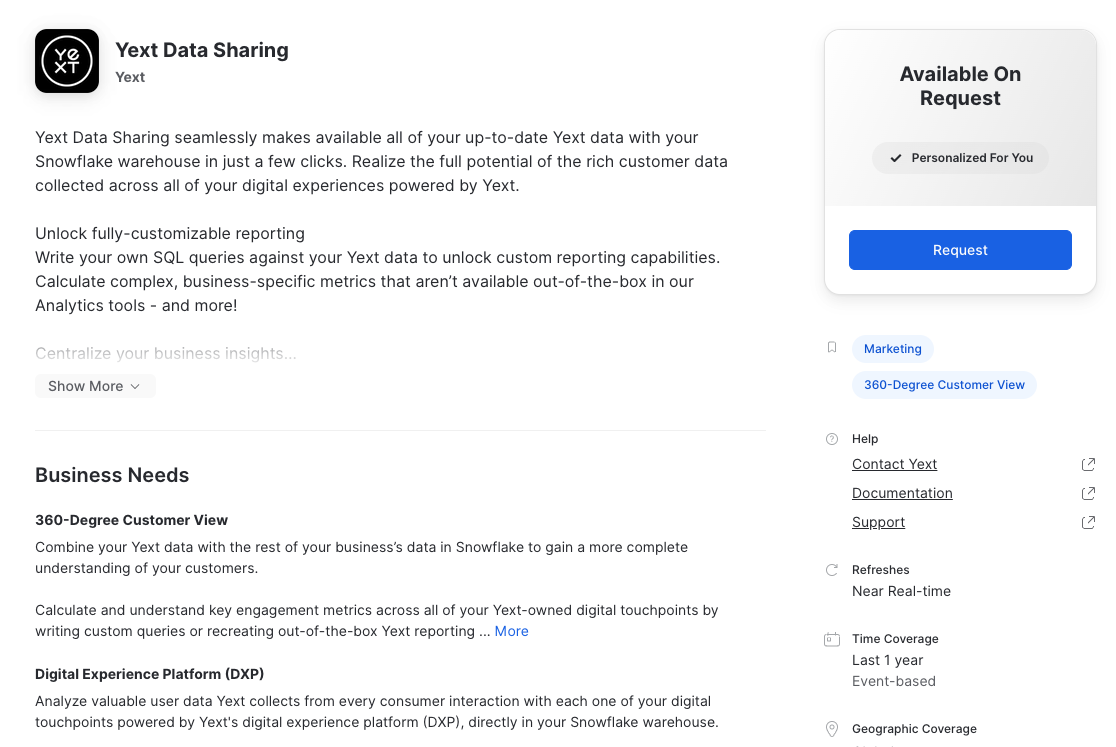
Follow the steps below to request access to Yext Data Sharing:
- Click Request in the top right corner of the page.
- You’ll be prompted to fill out a form. The required fields are:
- Name (First, Last)
- Title
- Company Name
- Company Website
- A message containing a brief description of your intended use for the data. Please try to include:
- Information to help us identify your Yext account, such as a link to your Yext platform screen after login, your Yext username, etc.
- Snowflake account locator
- Request access.
Once you’ve requested access, a member of your account team should reach out soon after to help set up the data share for you.
If you didn’t include the account locator in the listing request, you’ll need to provide your Snowflake account locator, which you can find by running SELECT CURRENT_ACCOUNT() in a worksheet.
For more information about this process, contact your Client Solutions Manager.
Step 2: Create Data Share in the Admin Console
Only a member of your Yext account team can create a Data Share resource. Submitting a request via the Snowflake marketplace listing will notify your account team to create the resource for you.
A Yext employee with Admin Console access can create the Data Share using Configuration-as-Code (CaC).
- Click on Developer in the navigation and click on Admin Console.
- Click Authorize. You should see a screen that looks like this:
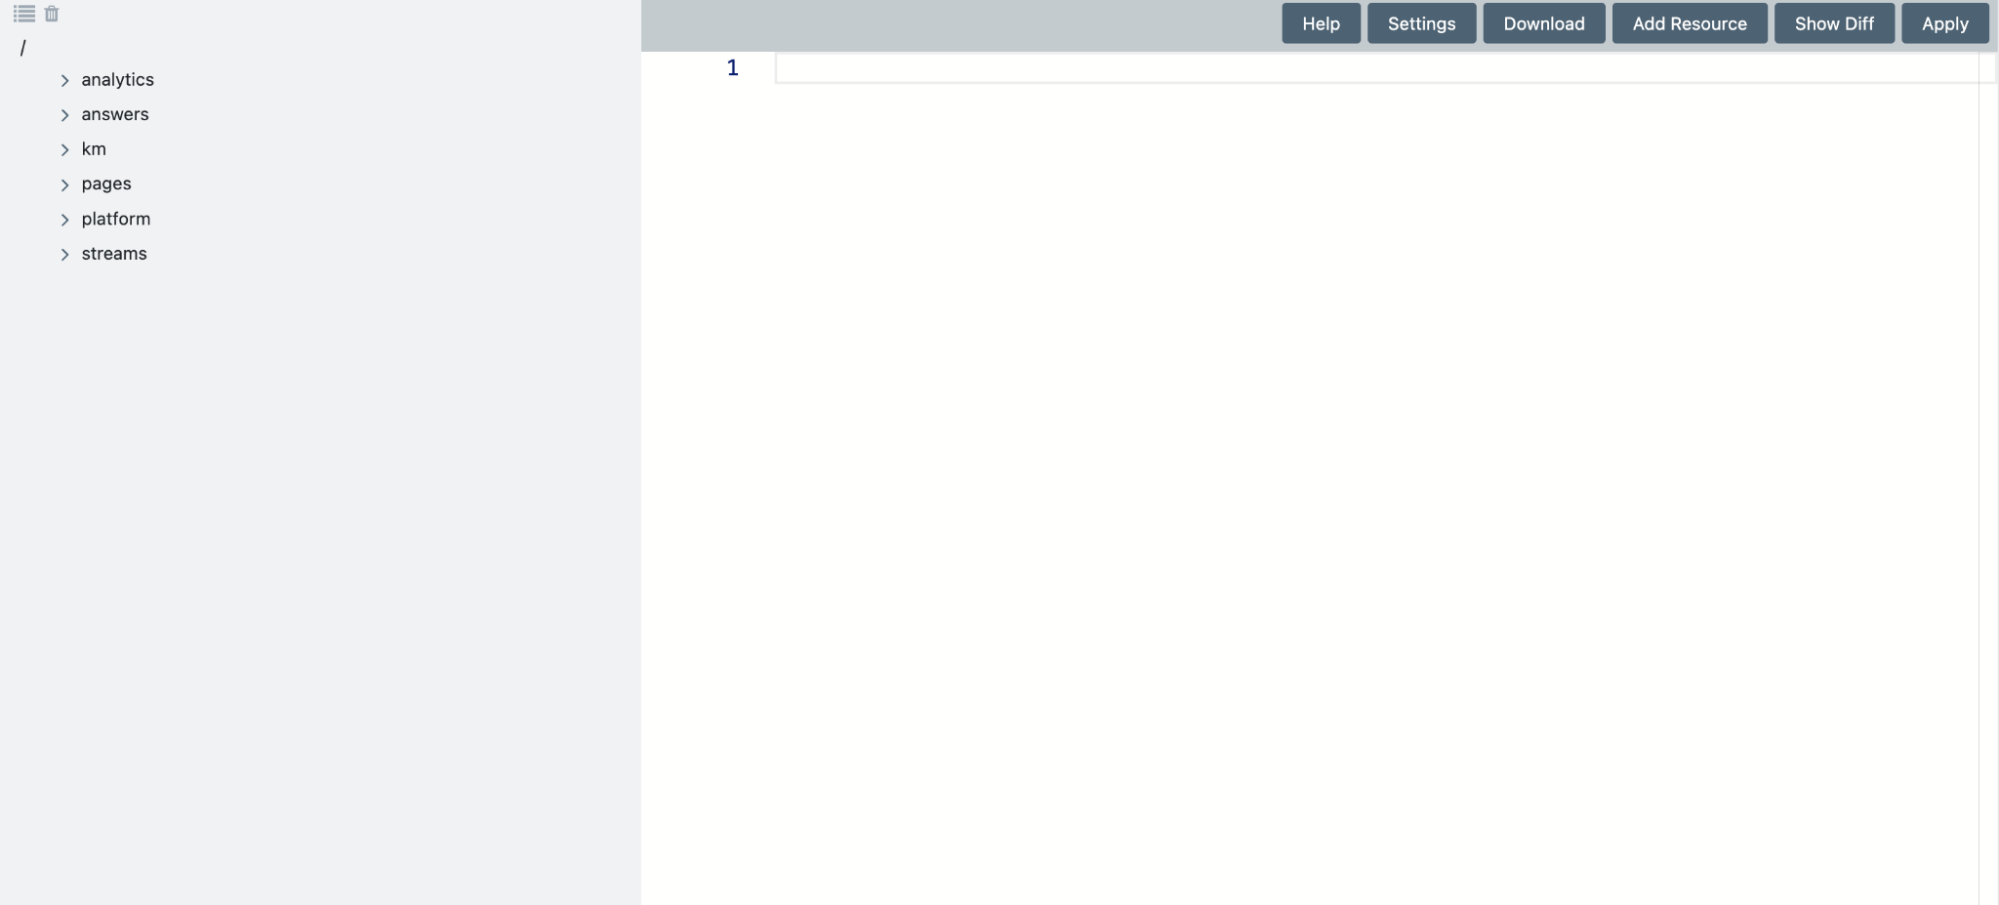
- Click on Add Resource in the upper right, select Analytics → data-share, name your file and click Create. This file contains the Data Share resource.
-
For the next step, you’ll need your Snowflake account locator. Copy the following CaC resource into the file, replacing the placeholder Snowflake accountLocator with your real Snowflake account locator:
Copy{ "$schema": "https://schema.yext.com/config/analytics/data-share/v1", "$id": "external", "accountType": "EXTERNAL", "externalAccount": { "region": "us-east-1", "accountLocator": "<put account locator here>" } }This action will create the Data Share resource. Following this, you will need to apply your changes to the account.
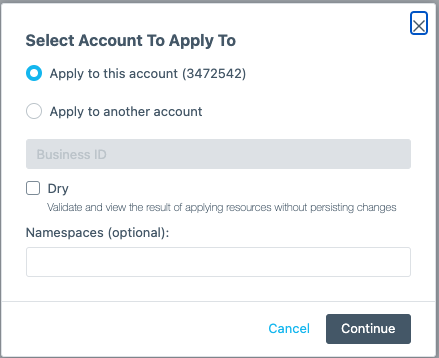
- Click Apply in the upper right corner, make sure the Apply to this account option is selected by default, then click Continue.
- This action will create the Data Share resource! Following this, you will need to apply your changes to the account.
- Click Apply in the upper right corner, make sure the Apply to this account option is selected by default, then click Continue.
You might encounter a Variables screen when going through the flow - feel free to ignore this, as it is not relevant to creating a Data Share - click Save.
You will then be prompted with a View Diff screen that shows the file(s) you added, modified, or removed. In this case, you should only see one file added - the file containing the Data Share resource.
Click Continue, upon which you will be prompted to confirm that you’d like to apply your changes. Click Confirm, and you should see a success message in the console when the resource is successfully applied, upon which you can exit the page.
To confirm that the resource was successfully created, log back into the Admin Console and check to see if the Data Share exists. You should see the file you just created in the analytics → data-share path.
Step 3: Import Data Share to Snowflake
Import Without Database Roles
Once the Data Share is created, you can import the share to your own Snowflake account by running a set of simple SQL commands. Make sure that you are using the ACCOUNTADMIN role when importing the share.
Note that in the below CREATE DATABASE command, the first instance of YEXT is the database name you can set. YEXT is the database name we recommend, but the name is up to you. This is not to be confused with YEXT.ARGON.PROD_YEXT, which is the name of the Yext sharing database and must be written as-is.
USE ROLE ACCOUNTADMIN;

CREATE DATABASE YEXT FROM SHARE YEXT.ARGON.PROD_YEXT;

// MY_ROLE_HERE is the role you want to be able to read the database.
GRANT IMPORTED PRIVILEGES ON DATABASE YEXT TO ROLE MY_ROLE_HERE;
The GRANT IMPORTED PRIVILEGES statement just grants the two database roles to whatever user you chose, and you’ll inherit access to all of the views.
Import With Database Roles
Yext Data Sharing provides two built-in database roles for users to take advantage of – STABLE and PREVIEW.
The STABLE role gives users access to a subset of views in the share with limited risk of breaking changes, any of which will be announced well in advance.
The PREVIEW role gives users access to all views in the share, including ones that may be affected by breaking schema changes in the future.
USE ROLE ACCOUNTADMIN;

CREATE DATABASE YEXT FROM SHARE YEXT.ARGON.PROD_YEXT;

// MY_ROLE_HERE is the role you want to be able to read the database.

GRANT DATABASE ROLE YEXT.STABLE TO ROLE MY_ROLE_HERE

// Grant PREVIEW database role
Sandbox
If your Yext account is a sandbox account and you’re using Data Sharing in a sandbox environment, you can import the share by running a similar set of commands - the only difference is the share name.
Grant Imported Privileges
USE ROLE ACCOUNTADMIN;

CREATE DATABASE YEXT_SANDBOX FROM SHARE YEXT.ARGON.SBX_YEXT;
Grant Database Roles
USE ROLE ACCOUNTADMIN;

CREATE DATABASE YEXT_SANDBOX FROM SHARE YEXT.ARGON.SBX_YEXT;

GRANT DATABASE ROLE YEXT_SANDBOX.STABLE TO ROLE MY_ROLE_HERE

GRANT DATABASE ROLE YEXT_SANDBOX.PREVIEW TO ROLE MY_OTHER_ROLE_HERE
Run Sample Query
Once these statements are successfully executed, you should be all set to query the shared database! Run a sample query like the one below to make sure that the database import was successful.
select *
from yext.public.businesses
The output of this query should just be basic information about their Yext account.