This doc covers how Yext integrates with Apple Maps and how to link your Apple Business account to Yext.
Integration Overview
Apple's Business APIs allow data sync to Apple Maps via Apple Business accounts. Your data appears on Apple listings, referred to as place cards on Apple Maps.
To manage place cards on Apple Maps, you must either work with a trusted Apple partner like Yext (which has integrated with the Apple Business APIs) or manage your location data manually in your own Apple Business account.
By default, Yext syncs your locations to Apple using Yext's Business account, which allows you to create and update Apple listings without linking your own account. However, linking your own Apple Business account provides significant advantages.
Benefits of Linking Your Own Apple Account
Higher data priority. Data from a linked Apple Business account takes precedence over partner data. If Apple receives data for a given entity from two sources, it gives preference to the business' own data. Linking your account ensures your data appears exactly as intended.
Access to additional features. Linking your account is required to use:
- Apple Showcase Posting
- Apple analytics
- Cover photo syncing
Easier bulk updates. Without linking, updates to Apple must be made one location at a time within Apple directly. Managing data through Yext allows bulk updates across all locations.
Note: There is no minimum location requirement for linking your Apple Business account. However, if Apple deems a brand is not large enough, it may require you to verify each location that Yext creates. If locations appear as "not verified," approve the Yext sync at the location level in your Apple Business account.
Apple Account Structure
Apple Business accounts are organized around three objects:
| Object | Description |
|---|---|
| Company | The top-level object representing your entire organization. Each business should have one Apple Business account. |
| Brand | Falls under the Company. Create one brand folder per brand-country combination (e.g., Galaxy Grill US, Galaxy Grill Canada). |
| Location | An individual physical location to be listed on Apple Maps. Locations live within a brand folder. |
For example, Galaxy Grill with two brands in two countries each would have: one Company, four Brands, and multiple Locations distributed between the four brand folders.
Note: For delegated OAuth locations, Apple requires that all Location names exactly match their respective Brand names. There are some exceptions based on vertical. See the Apple Brand and Location Naming Guidelines for details.
Fields That Sync to Apple Listings
All accounts:
- Business Name, Address, Phone Number, Category, URLs, Hours
- Business Attributes
- Walking and Driving Coordinates
- Gallery Photos, Payment Methods
- Action Links (see Apple Action Links)
Delegated (linked) accounts only:
- Apple Business Description (maps to the "About" field on Apple; 500-character limit. Note: the general Description field in Yext does not sync to Apple)
- Cover Photos
- Logo
Country Support
Apple supports data sync in most countries. For supported countries, search the Publisher Network. For Showcase Posting country support, see Apple Showcase Posting.
Timeline
- New Apple Business account verification: up to 5 days
- Brand folder verification: up to 3 days
- Once an account is created, you can link it to Yext at any time
Link Your Apple Business Account to Yext
Already delegated access? If you have previously delegated Yext access and have not linked your Apple Business account with Yext, you will need to share Yext access with any new locations. If you link your Apple Business account with Yext, access will be shared with Yext automatically.
Step 1: Create an Apple Business Account
If you do not already have an Apple Business account, create one at business.apple.com. See Apple's Sign up for Apple Business article for full steps.
Once your account is created:
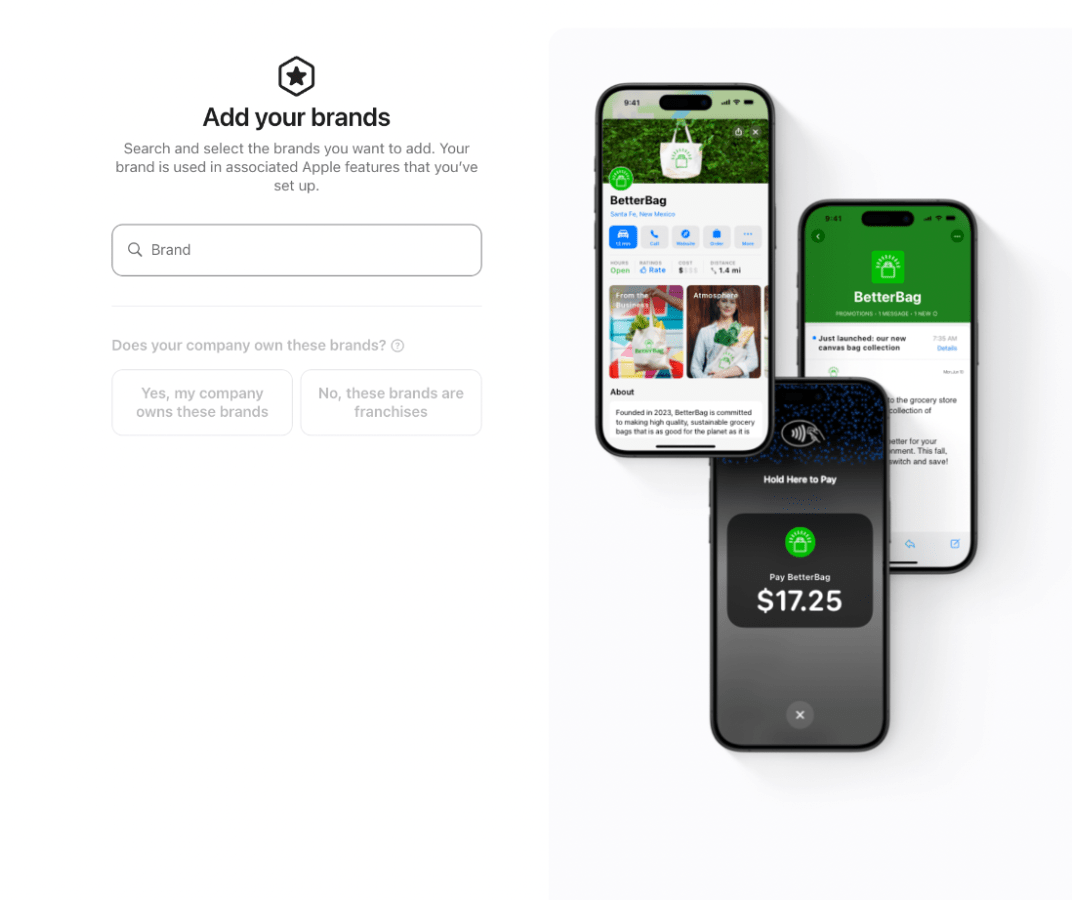
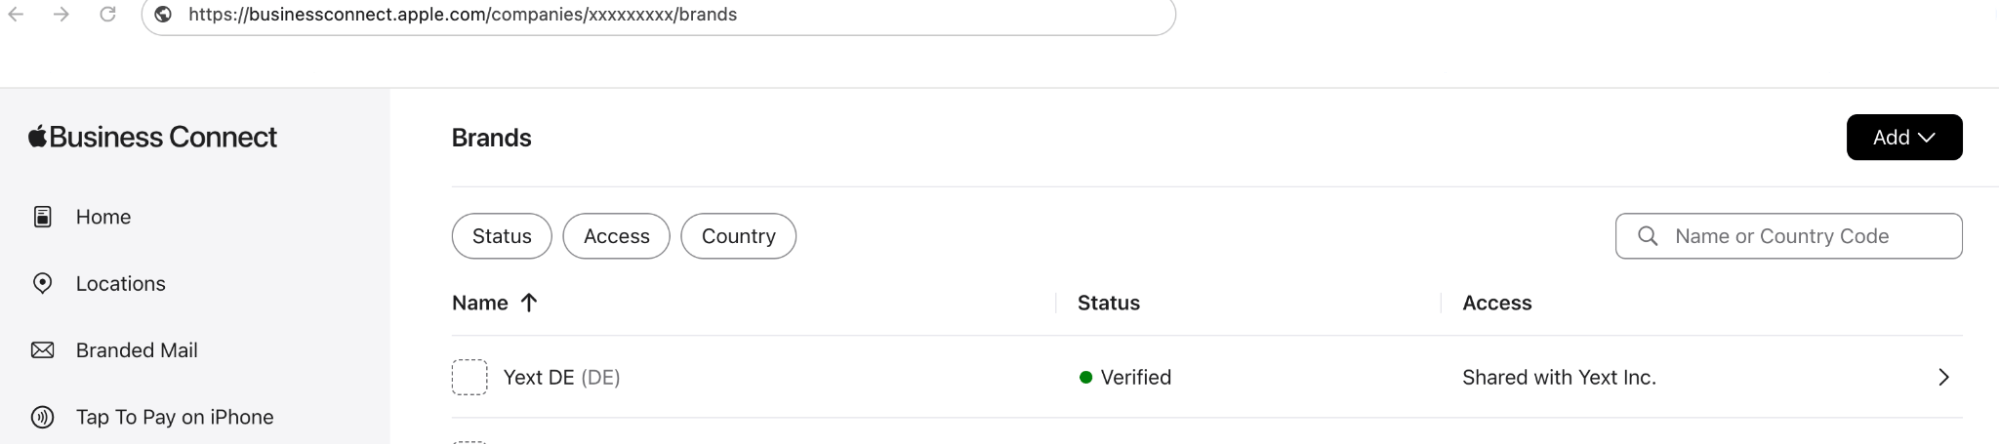
- In the top nav, select Brands, then Brand Profiles in the left nav.
-
Click Add in the top right to create a brand folder.
- Add single brand to create one manually.
- Add multiple brands to search for your brand and auto-create all folders if found.
- Complete the brand verification process for your first brand. Once verified, create additional brand folders for each brand-country combination you want to enable.
- Verification can take up to 5 days.
- You will need a business ID based on the country of registration. See Business ID types accepted in Apple Business.
- You do not need to add individual locations manually. Once a brand folder is delegated to Yext, Yext will automatically create locations in it.
Do not create or claim locations directly in your Apple Business account. Doing so may result in duplicate locations, which prevents Yext from syncing to Apple Maps listings.
Step 2: Link Your Apple Account in Yext
- Navigate to Account Settings > Linked Accounts.
- Click Link Account for Apple.
- In the modal, log in to your Apple Business account.
- Select the Company you want to connect to Yext and click Connect.
- The page will refresh showing your newly linked account.
Assign the linked account to your locations:
- On the Linked Accounts page, choose an assignment option:
- All available locations
- Select folder
- Select locations
- Select the relevant locations.
- Click Link this account, then Link Account to confirm.
Step 3: Add Apple Brand IDs to Entities in Yext
After linking, add your Apple Brand ID to the corresponding location entities in the Knowledge Graph. The Brand ID is specific to each brand-country combination.
Find your Apple Brand ID:
- In Apple Business, navigate to Brands > Brand Profiles and select the brand.
-
Look at your browser URL:
- The number after
companies/is your Apple Company ID (this will automatically - be populated in Yext when you link your account. This is the same across all your brands, and is what Yext used in order to link your Apple account.). - The number after
brand/is your Apple Brand ID (this is what you need to add to your corresponding locations in Yext)
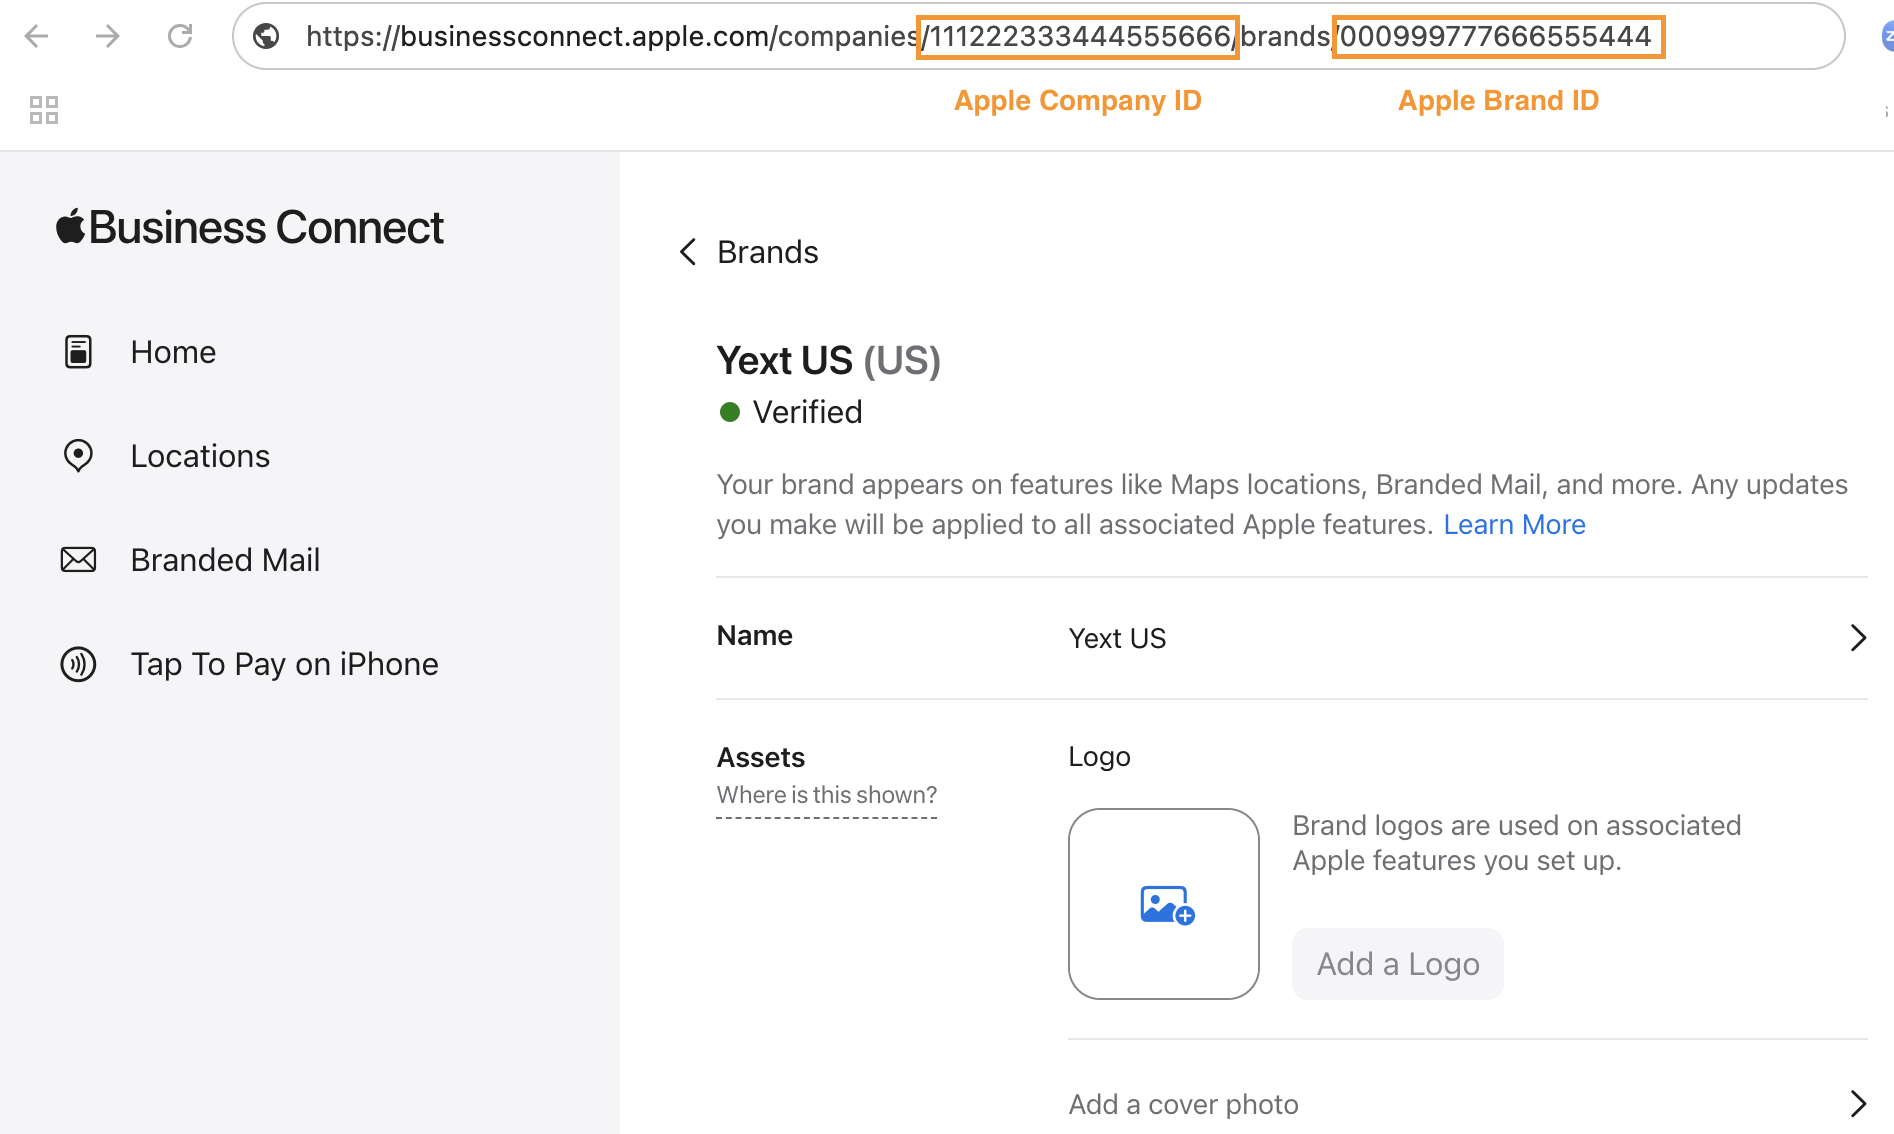
- The number after
- Repeat for each brand folder.
Add Brand IDs to entities:
- Navigate to Knowledge Graph > Entities.
- Edit the entities you want to link. Options:
- Single entity: open and edit directly.
- Bulk edit in UI: see the Edit Entities in Bulk help article.
- Spreadsheet upload: export your entities, add Brand IDs in the file, and reupload. See Add and Edit Entities via Spreadsheet Upload.
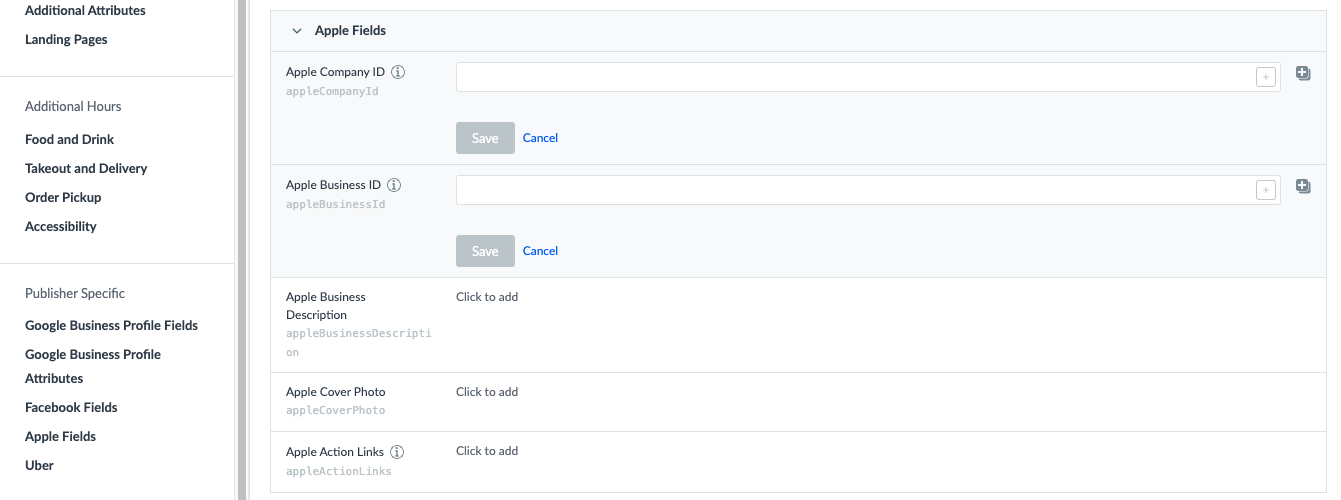
- Your Apple Company ID should already be populated.
-
Add the Apple Brand ID to the Apple Brand ID field for each entity.
Once complete, linking is finished, and all Apple-related features are available in Yext.