Apps in Yext are built using the Yext app framework and are available to install through the App Directory. Whether you're building a custom integration for your own account or developing something you'd like to share with the broader Yext community, this article walks you through creating an app from start to finish.
Before you get started, it helps to know what type of app you're creating and what you want it to do.
App visibility: private vs. public
Private apps can only be installed by accounts owned by the app developer. This is a good choice for custom integrations you're building for your own use, or for apps that Partners create to deploy across their sub-accounts.
Public apps are listed in the App Directory for all Yext customers to discover and install. Before a public app goes live, it goes through a review process with Yext.
App functionality: API connector vs. configuration
API Connector apps interact with account data through the Yext APIs. The Zendesk Guide app, which pulls Help Articles into the Knowledge Graph, and the Tableau Connector, which lets you import entity data from Yext into Tableau, are both examples of this type.
Configuration apps apply configurations to accounts using Configuration as Code resources, such as Page Builder templates, Search experiences, entities, and saved filters.
Some apps do both: they apply configurations and interact with account data through the API.
Access the Developer Console
To create an app, you need access to the Developer Console.
- If you don't have a Yext account yet, create a Yext developer account.
- If you have an existing account, go to Developer in the navigation bar, then select Developer Console.
Create your app
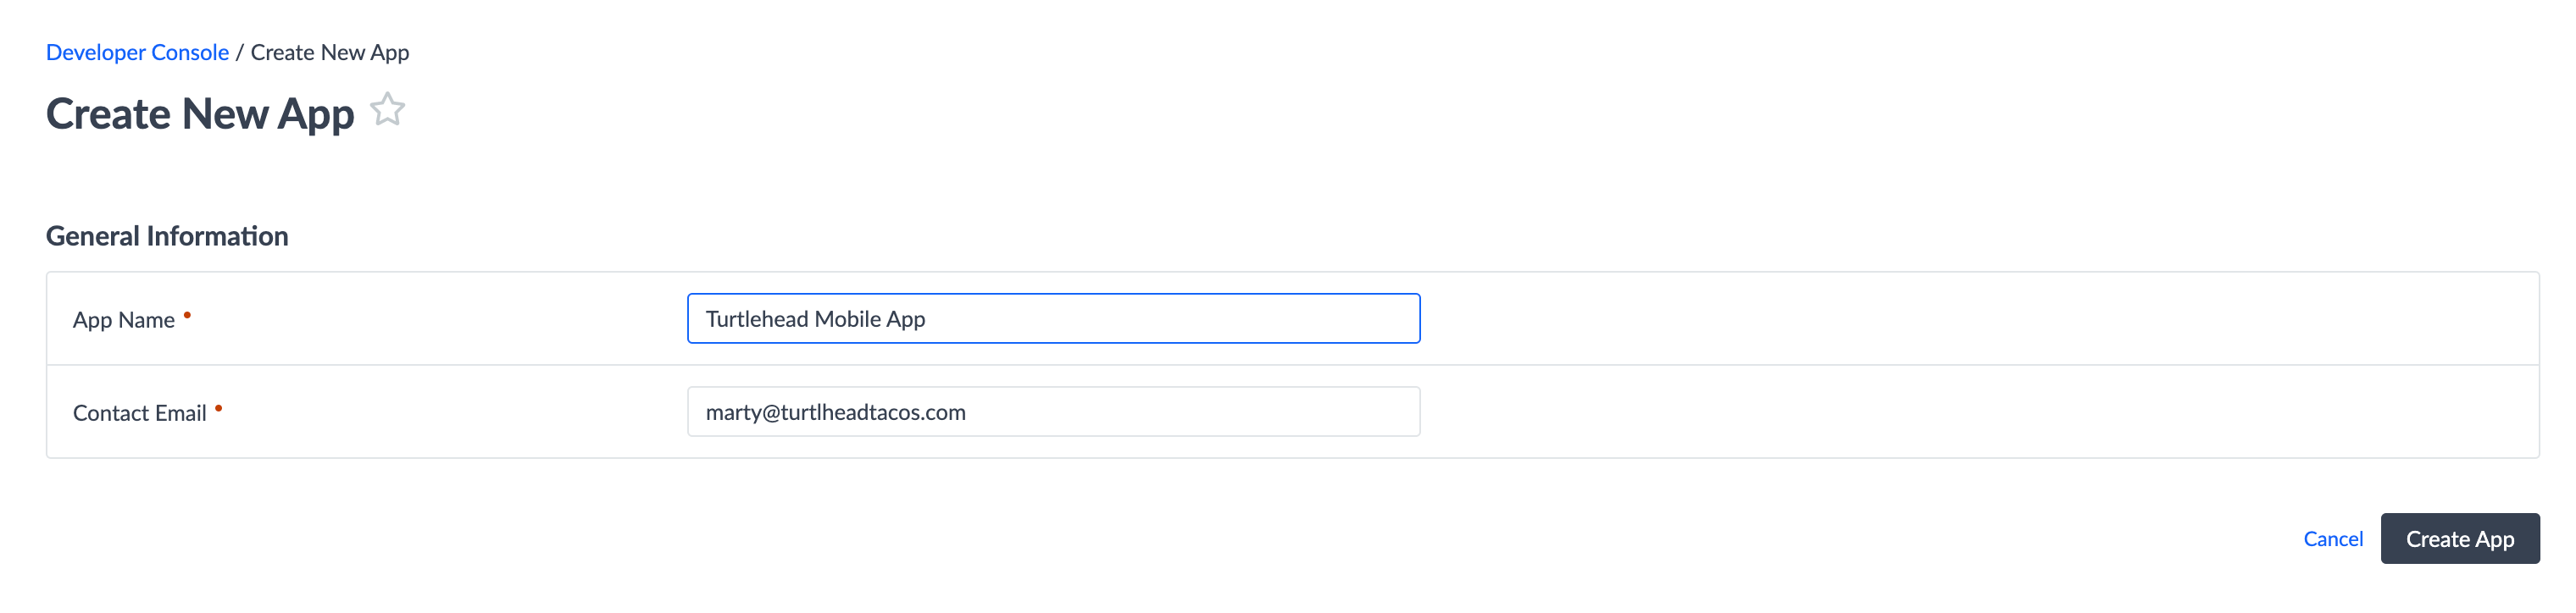
- From the Developer Console, click + Add an App in the top right corner.
- Enter a name for your app.
- Confirm the contact email.
- Click Create App.
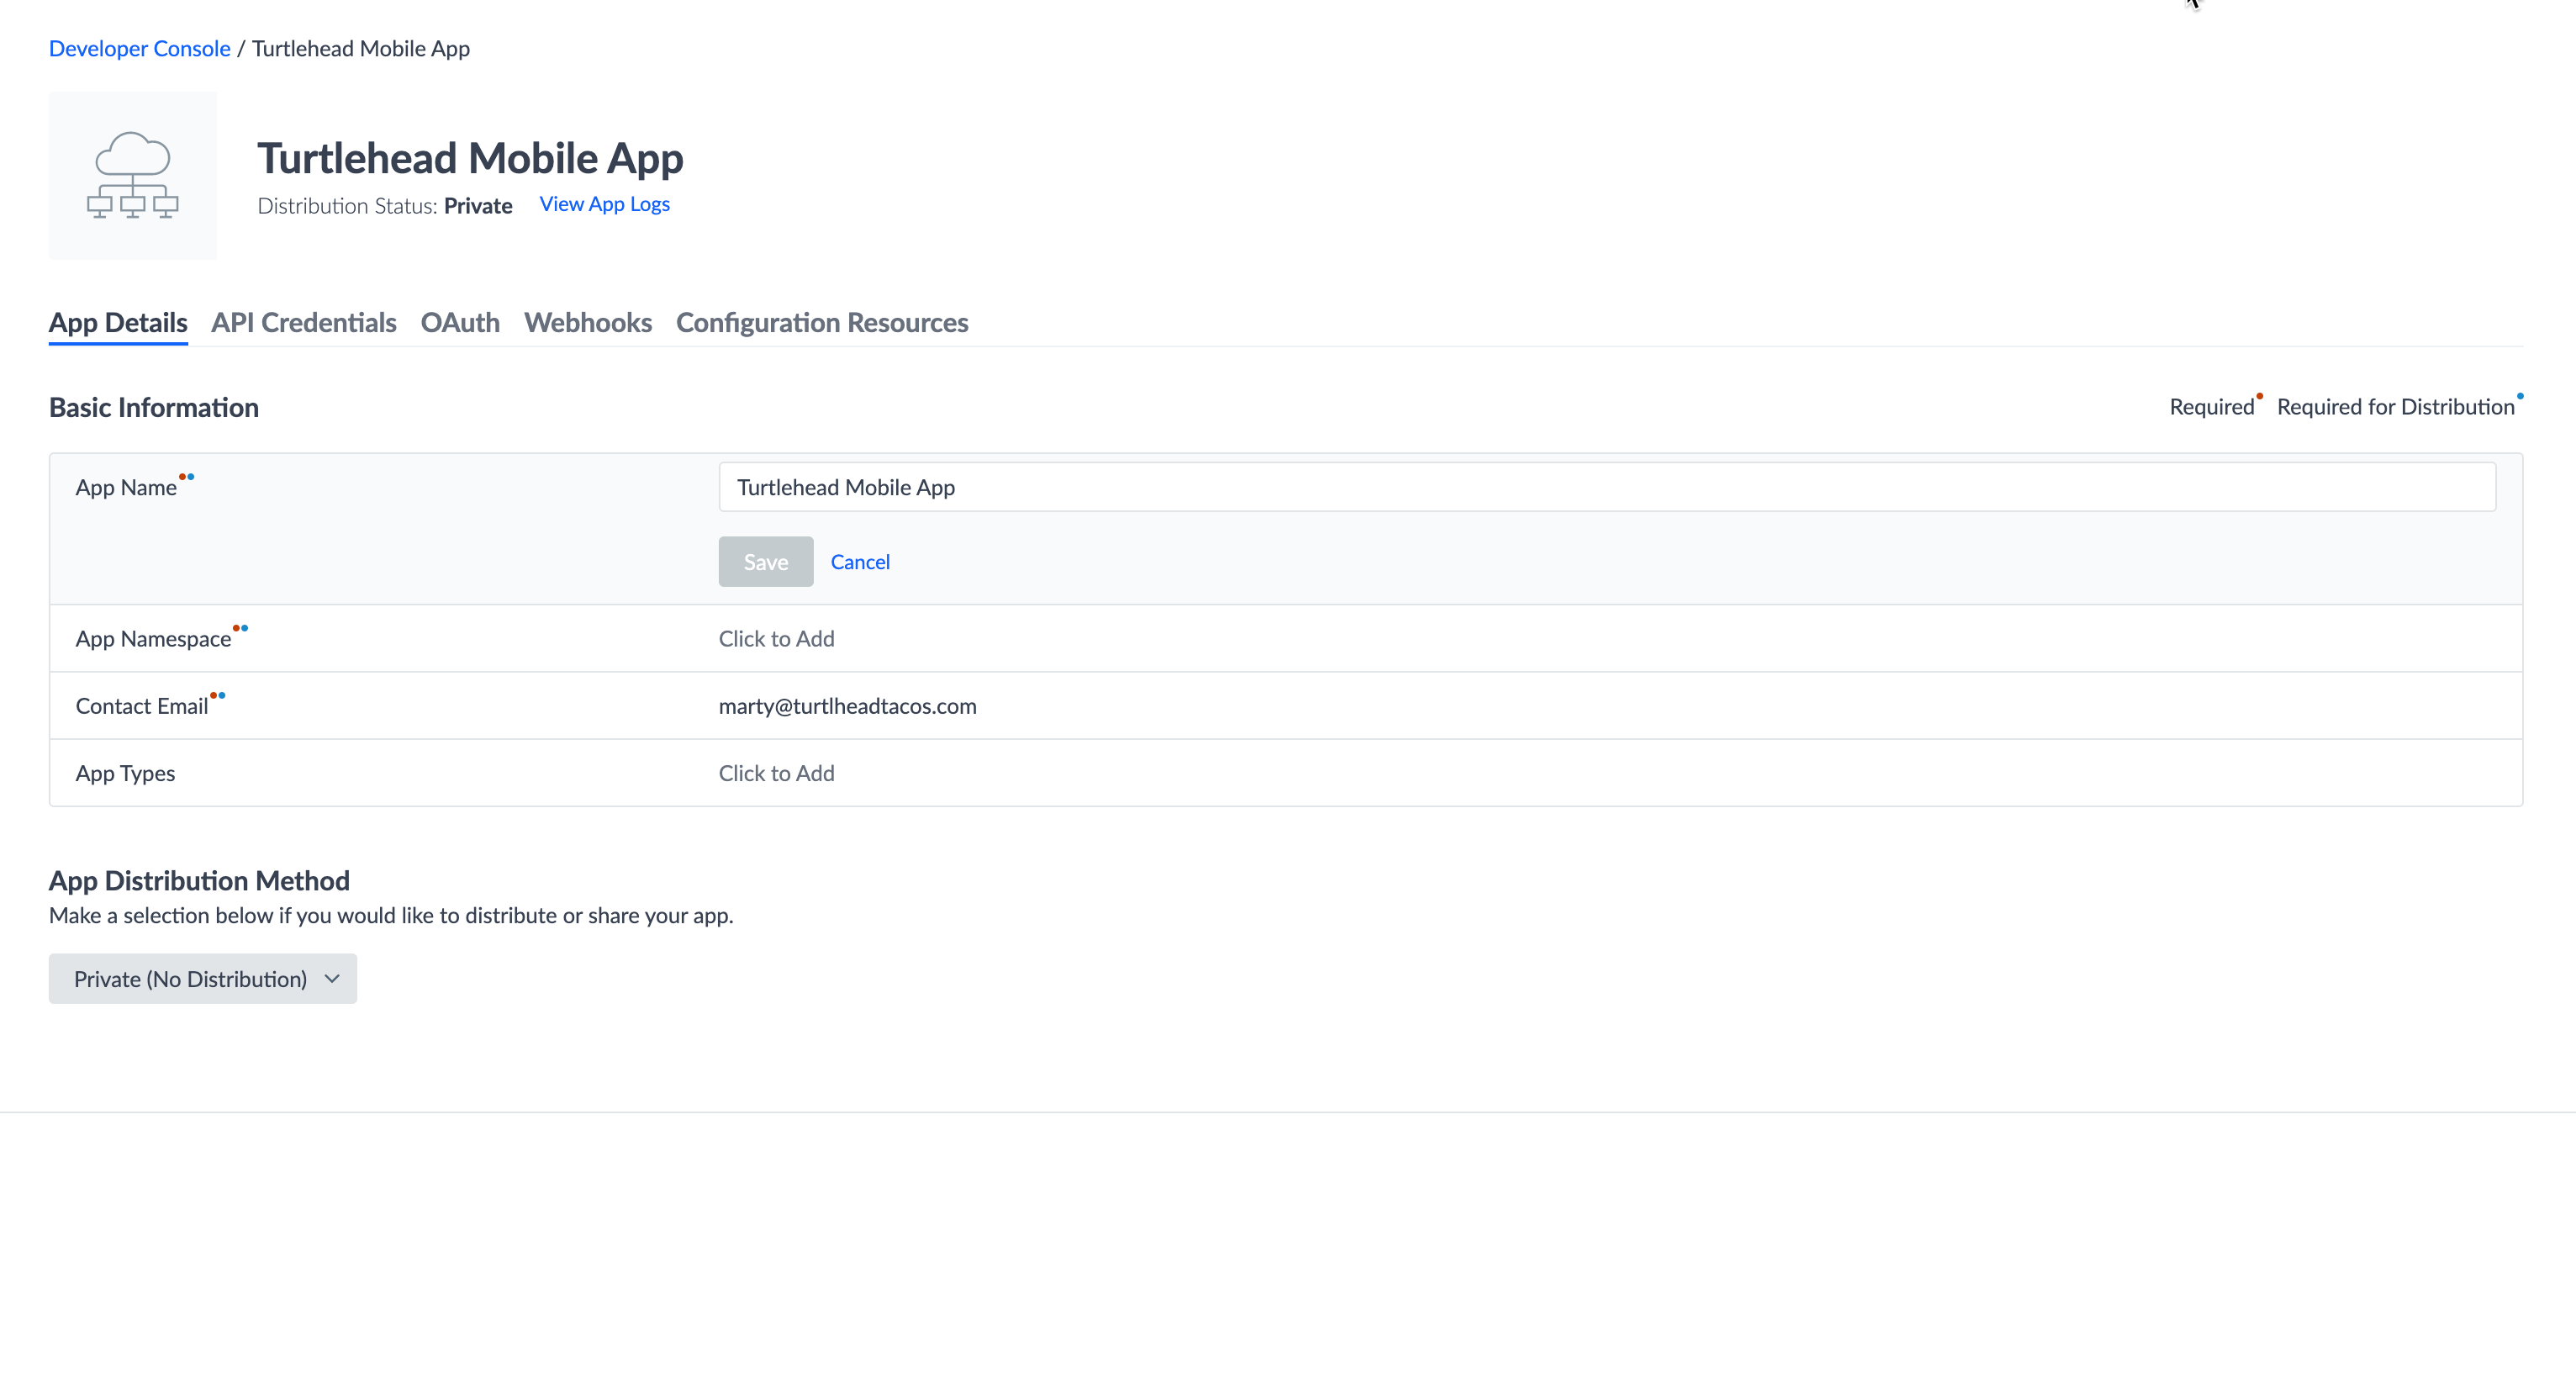
After your app is created, you'll land on the App Details page where you can configure everything else.
Configure app settings
On the App Details page, fields marked with red dots are required for all apps. Fields marked with blue dots are required only if you plan to submit the app to the public App Directory.
Your app must have at least one of the following before it can be used:
- API permissions
- Configuration resources linked via GitHub
Add API permissions
API permissions are required for API Connector apps. To add them:
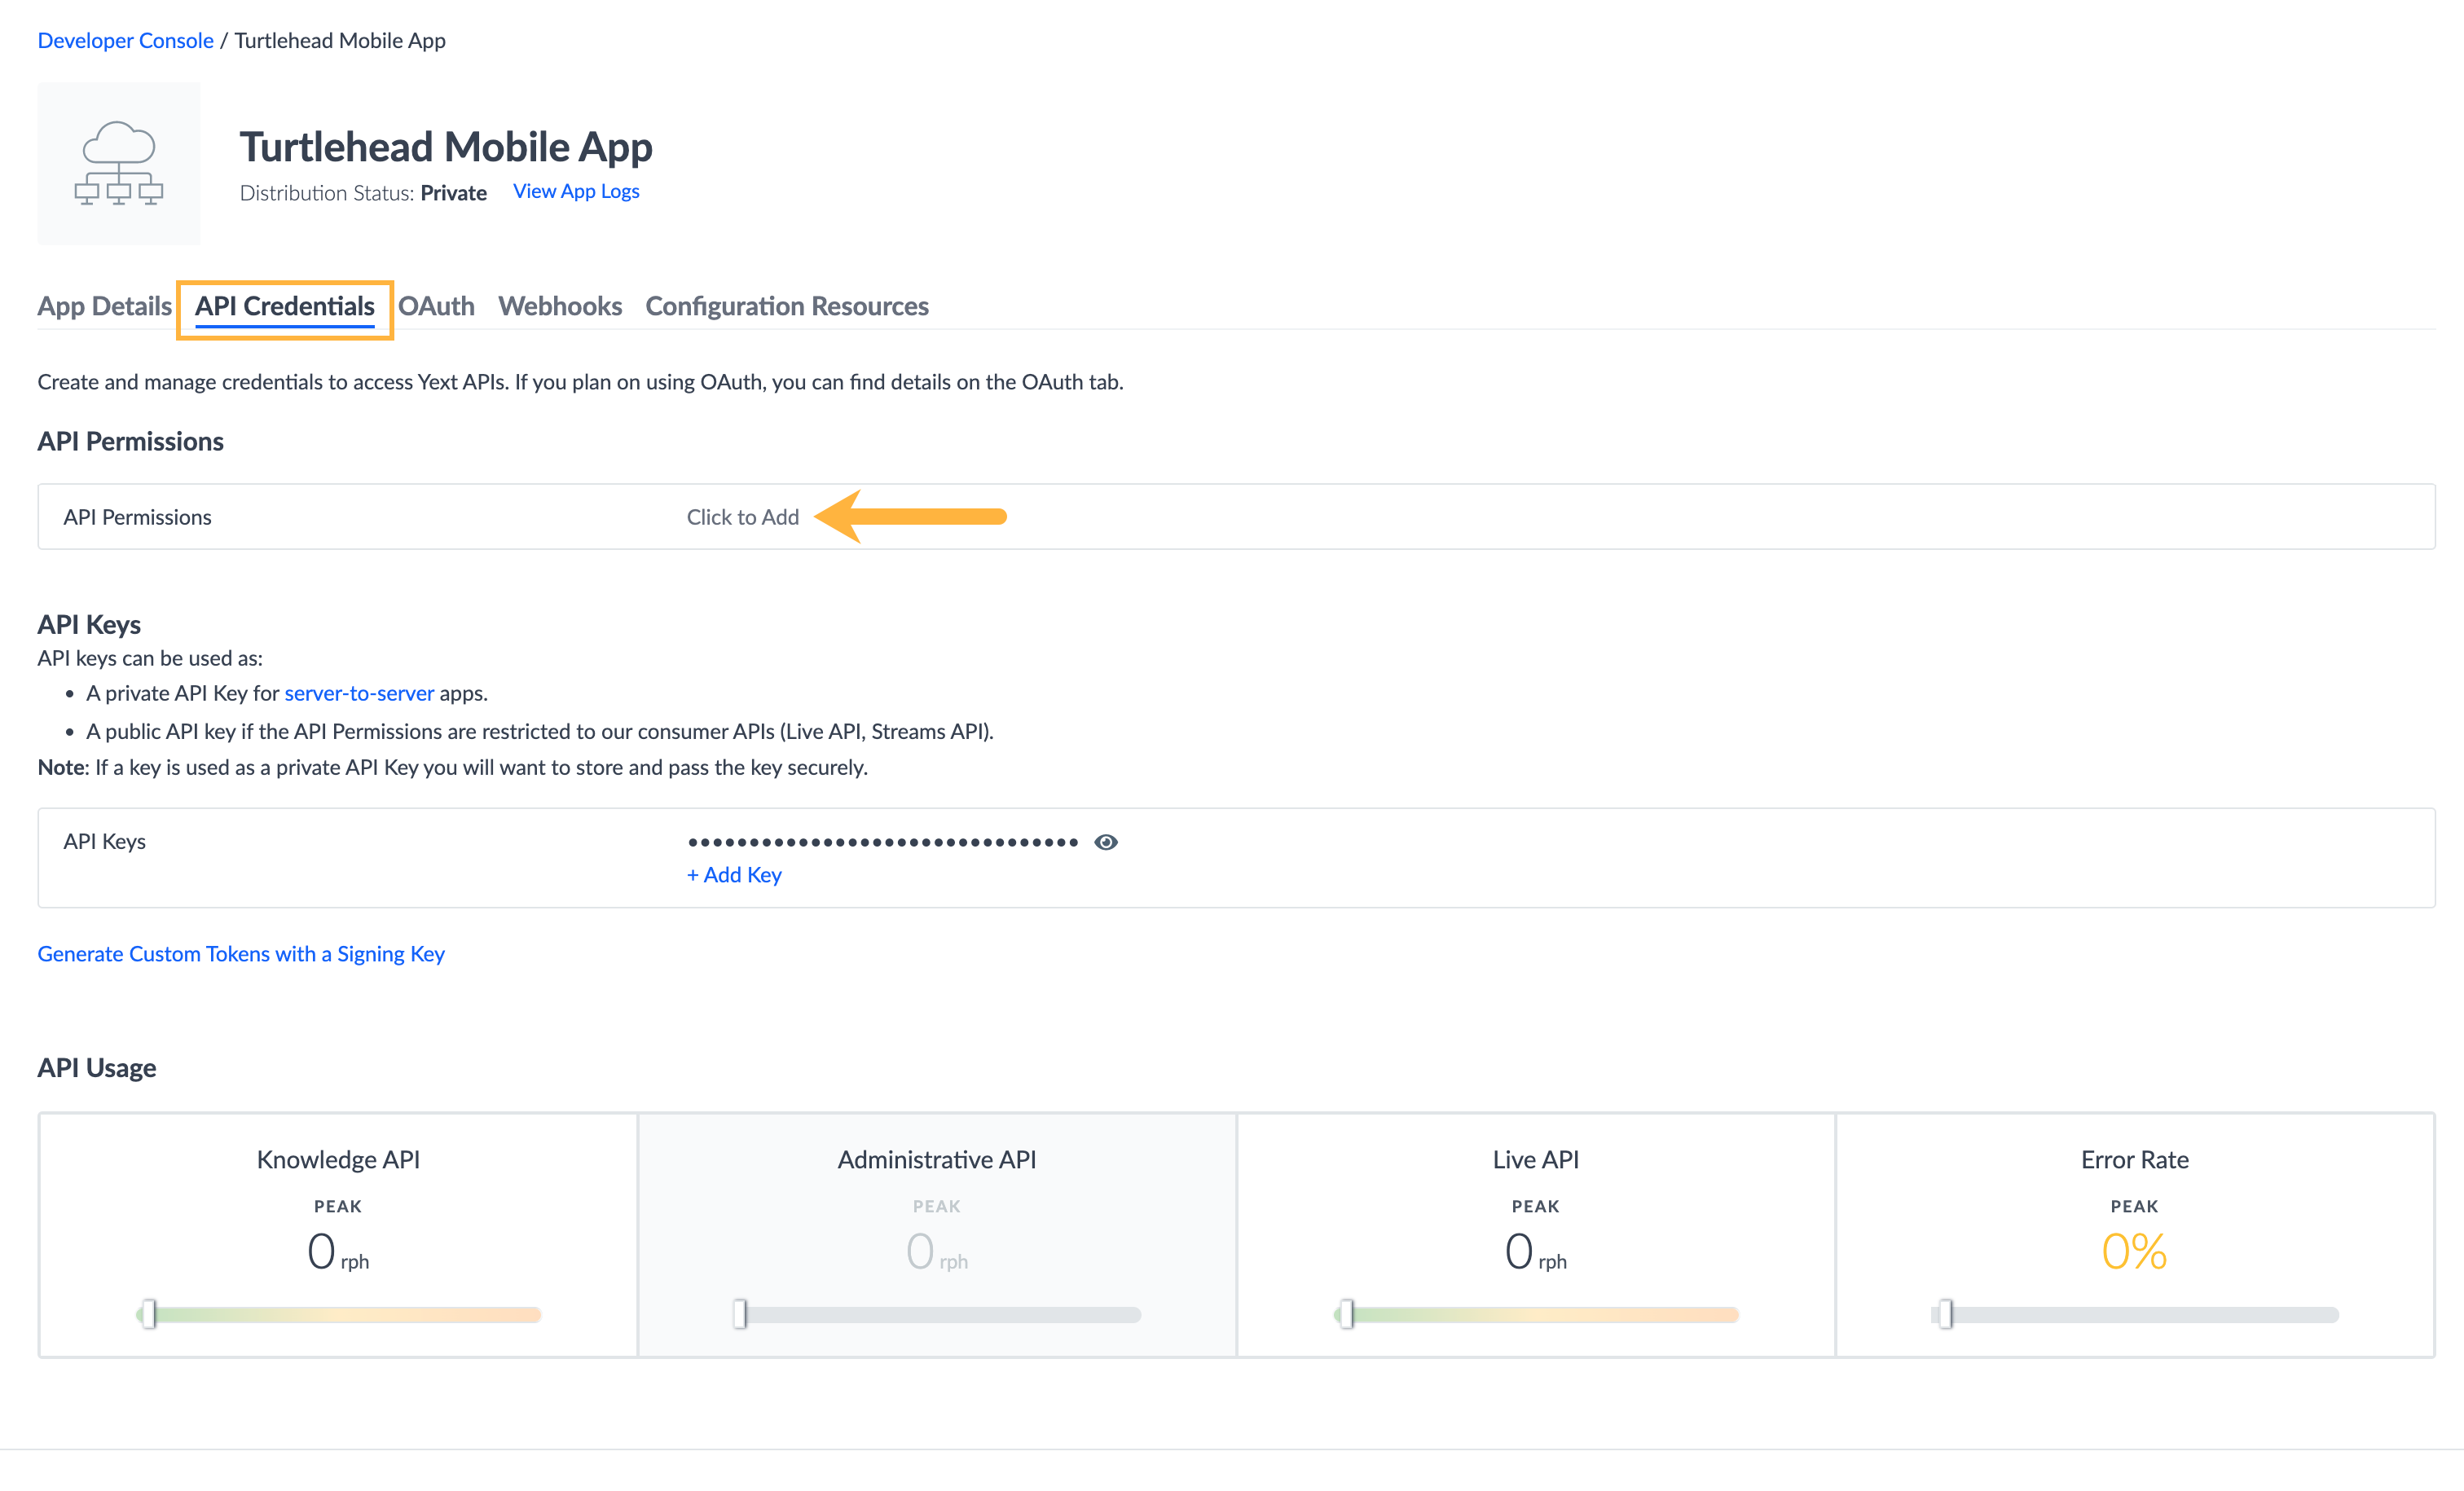
- From the App Details page, go to API Credentials.
- Next to API Permissions, Click to Add a new permission.
- Click + Add Endpoint and select the API or endpoint you need, along with the corresponding permission level.
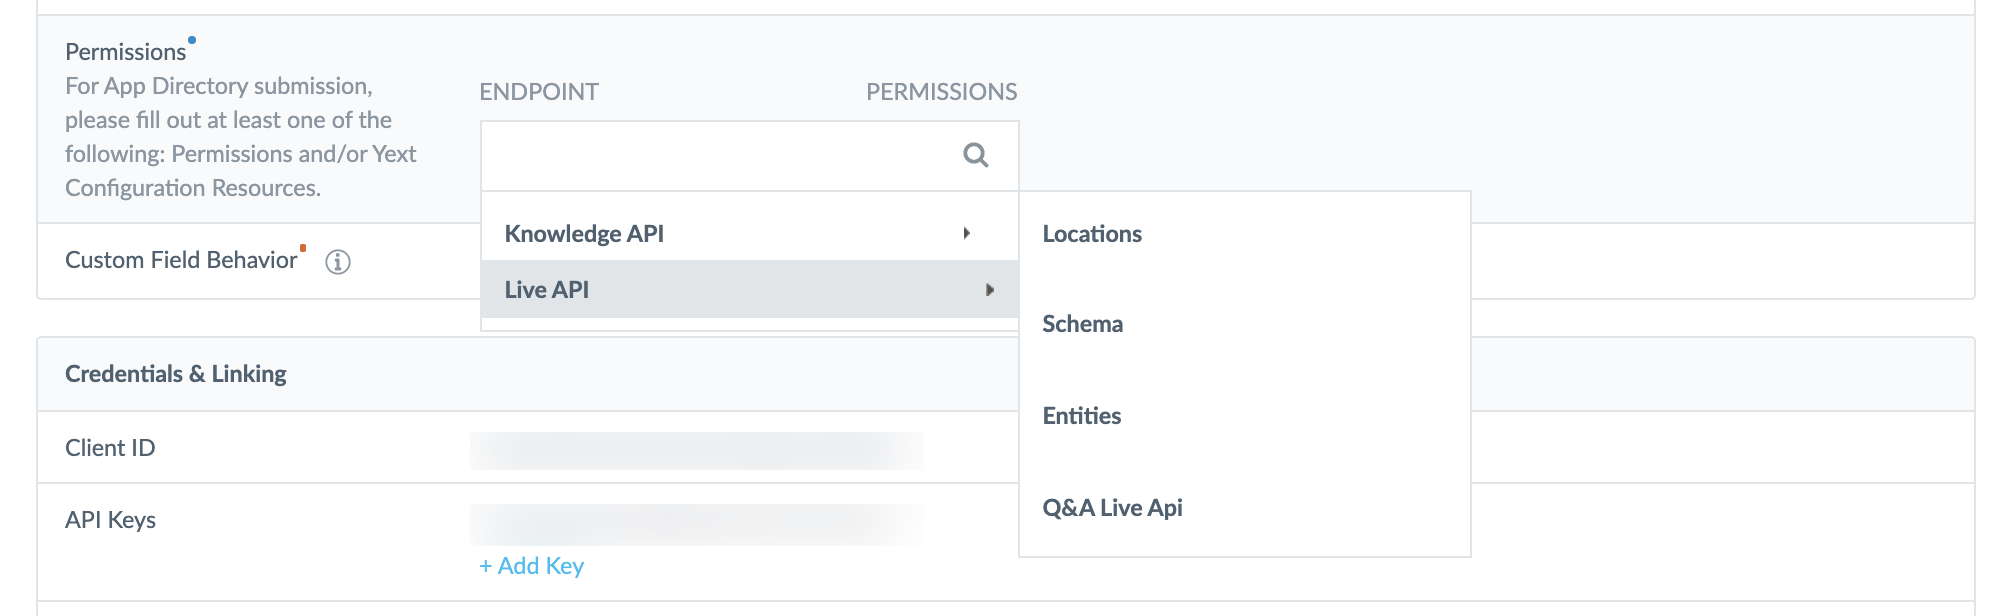
Each endpoint in the Management API can be set to Read Only or Read/Write. Content Delivery API endpoints are Read Only by default, since data cannot be pushed into Yext through that API type.
For a full reference on API endpoints and their capabilities, see the API Documentation.
Import configuration resources
Configuration resources are applied to an account when the app is installed. To add them:
- From the App Details page, click Configuration Resources, then Click to add new Yext Configuration Resources.
- Click Import from GitHub.
- Enter your GitHub repository URL and click Next. A preview of the configuration details from that repo will appear in the modal.
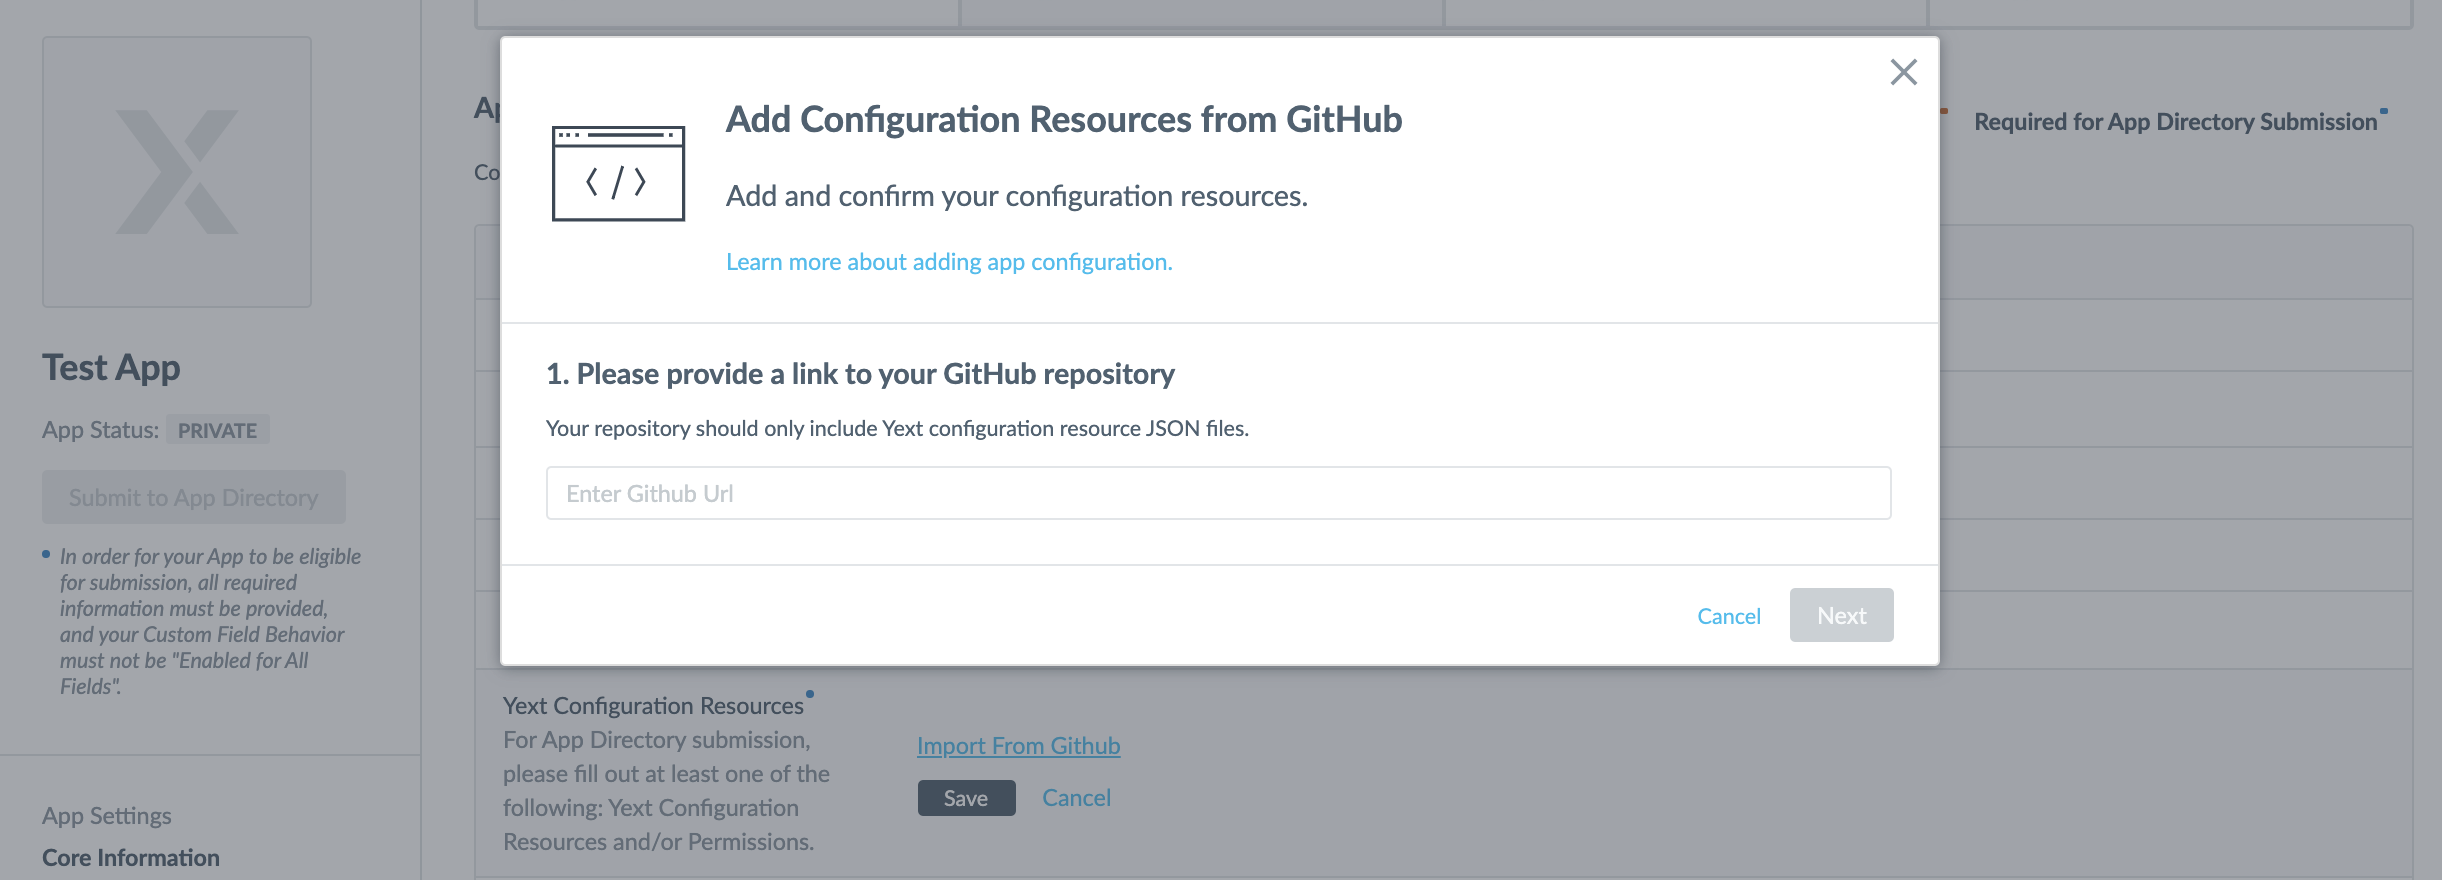
Everything included in the repository will be applied to an account at the time of installation. This can include Page Builder templates, Search experiences, entities, saved filters, and more. For the full list of supported resource types, see the Configuration Resources documentation.
If your app only applies configuration resources and will be public, you can set a post-installation redirect URL. By default, users land back on the app listing page after installing. To change this, click Post-Installation Landing Page and enter the URL you'd like to use.
Set up credentials and OAuth
This section applies to apps that require OAuth. Enter your OAuth Redirect Domains here to configure the necessary redirects. OAuth is required for API Connector apps.
Step 4: Add directory information (public apps only)
If you're building a public app, complete the Directory Information section. This is what Yext customers will see when they find your app in the App Directory.
- App Namespace — required for App Directory listing; must be unique across all apps.
- App Icon — the image that appears in the top left corner of your app's listing page.
- Categories — select the Industry and Use Case that best describe what your app does.
- Short Description — the subheader that appears directly under the app name.
- Detailed Description — a full description of the app's functionality and purpose.
- Installation Instructions — numbered steps that guide users through installing your app.
- App By — your name or your company's name.
- Homepage — a link to where users can learn more about your app or company.
- Customer Support Email — a contact address for users who need help during installation.
- Terms of Use and Privacy Policy — links to the relevant legal pages for your app.
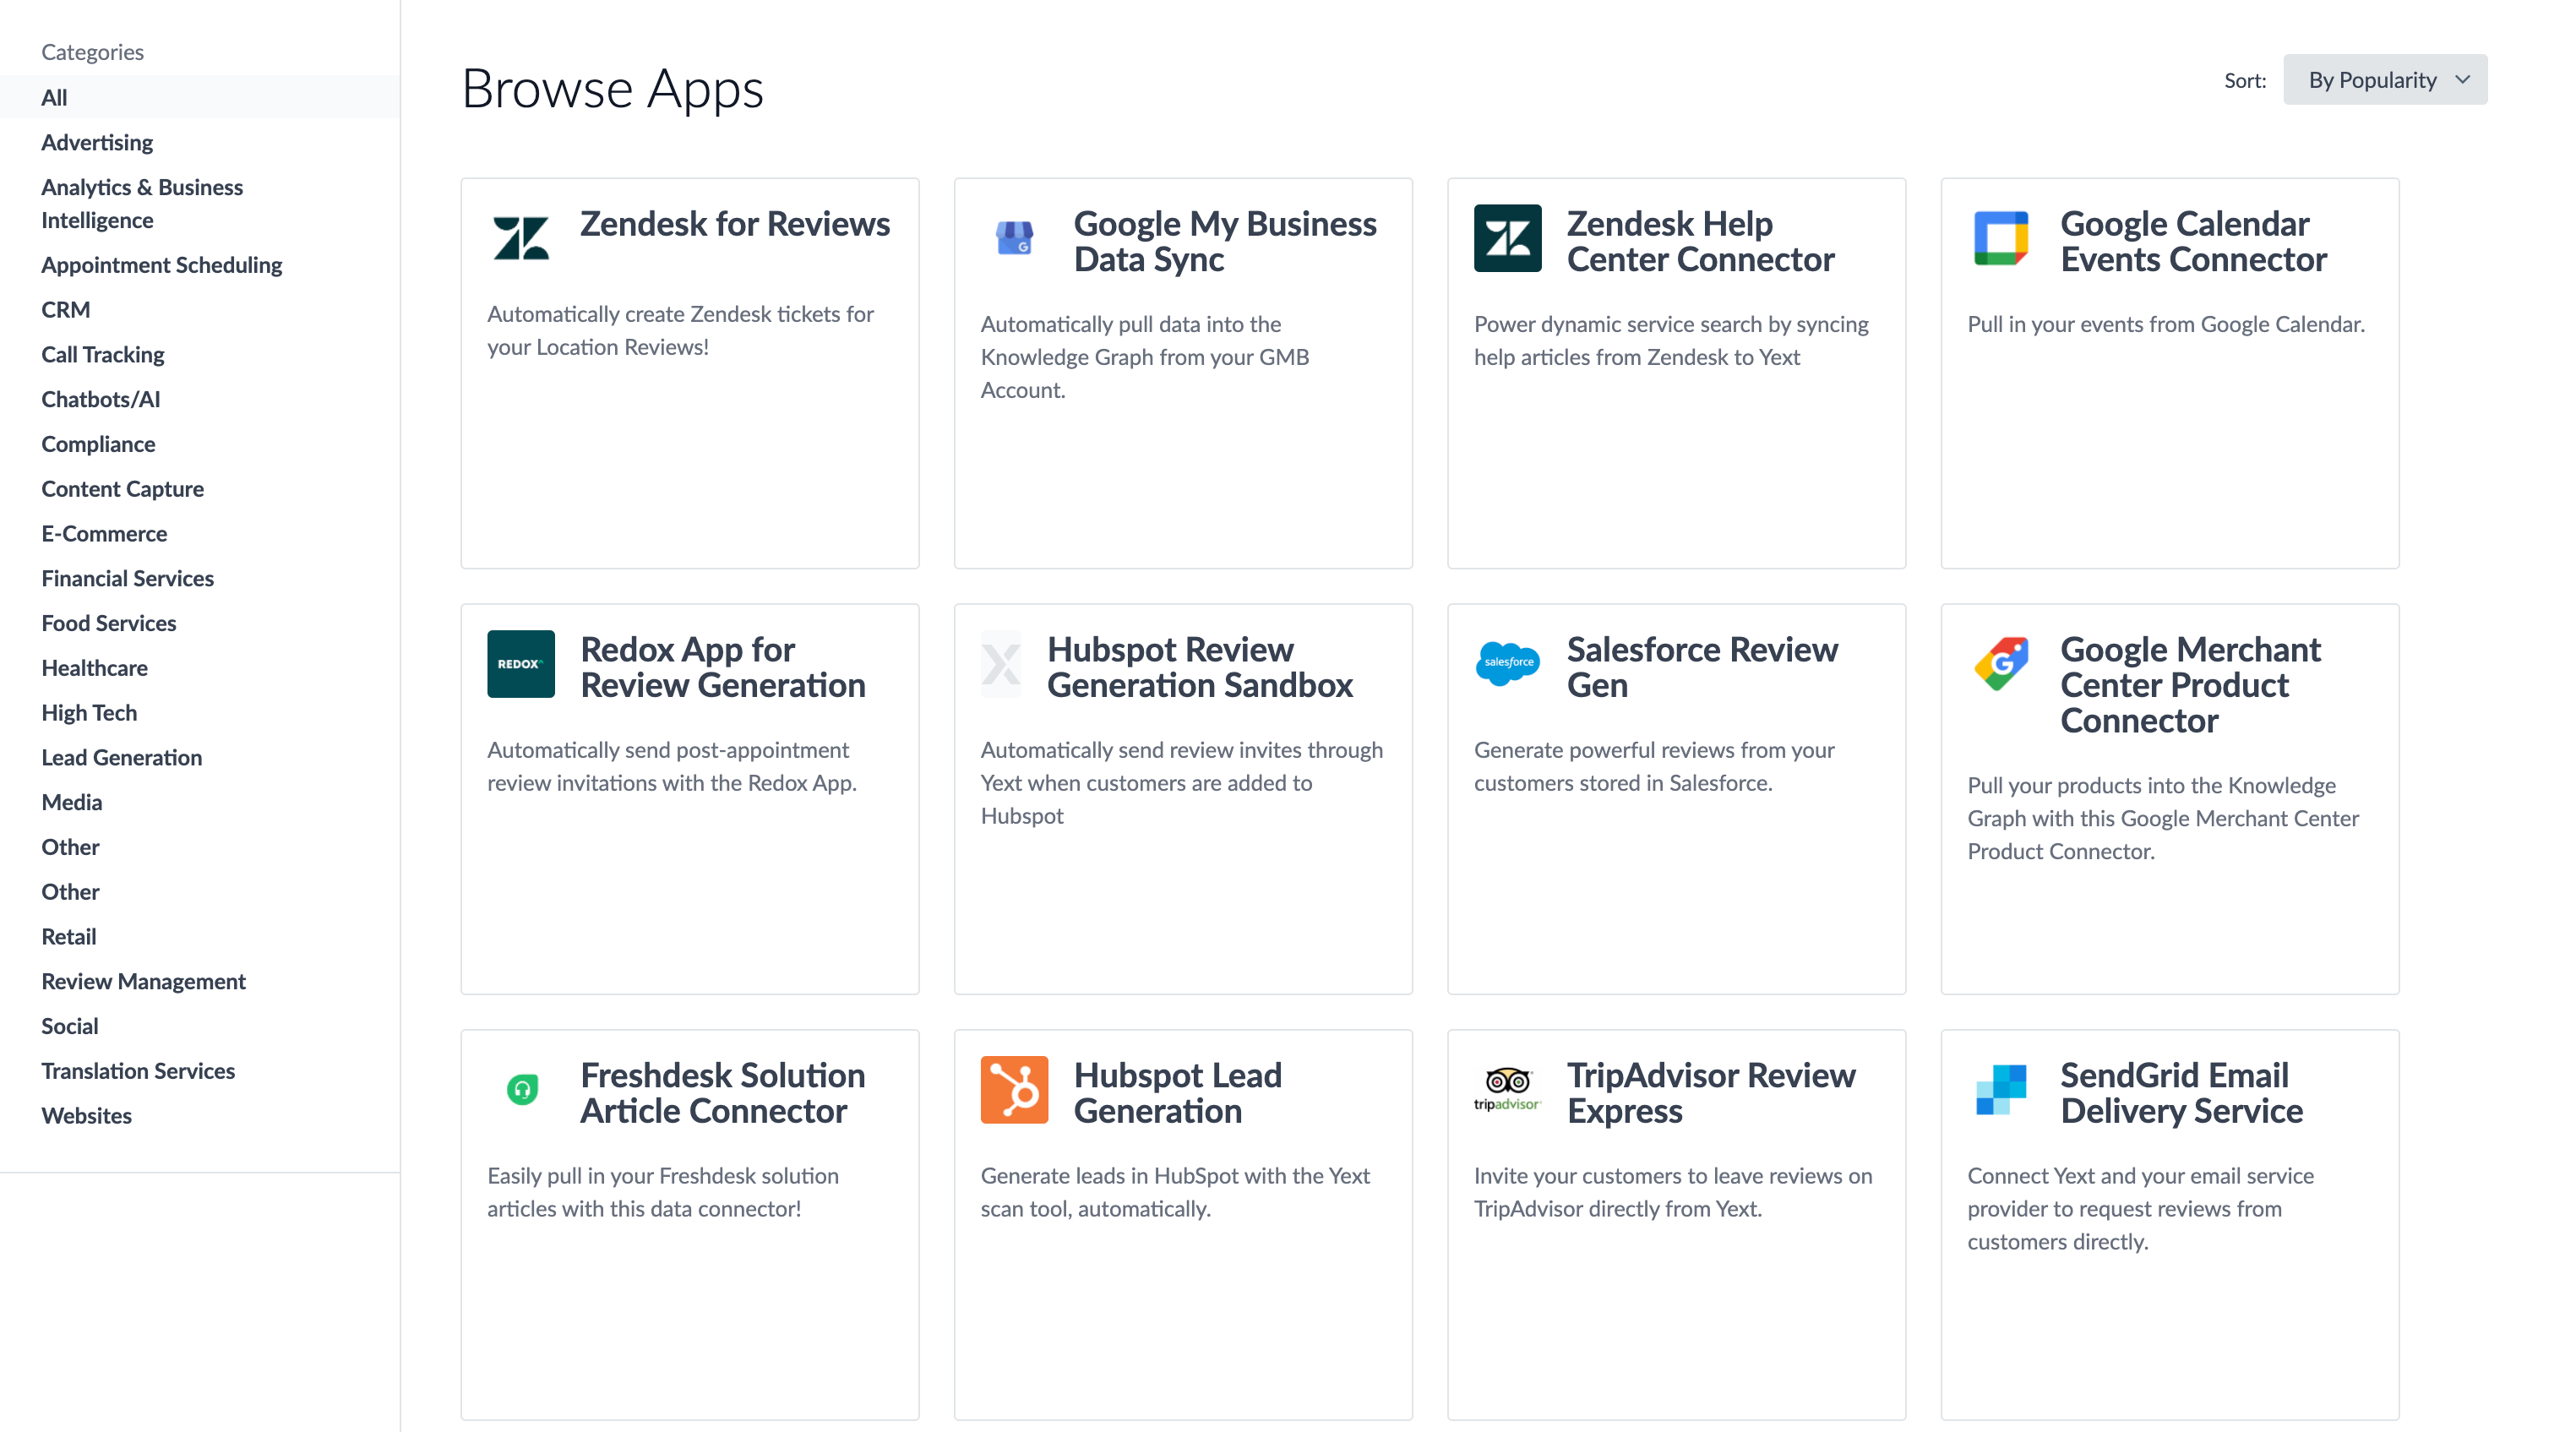
You can find the App Directory by going to Apps > Directory in the navigation bar.
App type
App Type is an optional field that categorizes your app and controls where it surfaces within Yext. For example, Data Connector apps appear both in the App Directory and on the Add Data screen in the Knowledge Graph.
You can set an App Type for private apps, but it won't affect how the app is surfaced since private apps aren't listed publicly.
Once your app is configured, if it is a private app you can start leveraging it in your own account. If you have a Partner account, you can use it in your in sub-accounts.
If you created a public app, you can submit your app for consideration in the Yext App Directory.