We are no longer implementing new Page Builder sites. This help article is for existing Page Builder clients to maintain their existing Page Builder sites.
We’ve launched a new Pages in-platform experience for marketers. To learn more, check out the guide here.
For current Pages customers interested in accessing these new capabilities in addition to the current experience, talk to your account team to learn more about how to rebuild your pages on this new experience.
This article explains how to add custom Schema.org markup to the Pages you create for custom entities. By default, Pages created for built-in entity types will already contain Schema.org markup based on the entity type and the content of the Page. However, because custom entities can be used for any content, there is no default markup, so you will need to add Custom Schema.org markup to your pages for custom entities to ensure that it includes the relevant Schema.org markup for the page type and content.
To add custom Schema.org markup to your Pages:
- Click Pages in the navigation bar and click All Sites.
- Click Edit next to the Site you would like to add custom markup to.
- Click Edit next to the Template you would like to add custom markup to.
- Click Settings in the sidebar.
- Click Customize Schema.org Markup. This will open a Code Editor and a Field Reference section.
-
In the code editor, replace the value for @type based on the appropriate schema.org Type. This process differs depending on whether you are creating markup for pages for custom entity types or built-in entity types.
- For custom entity types you will either need to hardcode the @type, or create a custom field and use a variable to map to that field. For steps to create a custom field, see Add a Custom Field.
-
For built-in entity types, the @type will be set to $meta.schemaTypes so that its value will come from the Category field in the Yext Knowledge Graph.
- To set a specific category for Schema that may be different from the category in the Yext Knowledge Graph, see Advanced Category Management and select the Schema category list to override the category
- We recommend following the instructions in Google’s Structured Data Reference to identify the best Type for your page.
-
Add the Properties for that @type based on the content on your Page.
- It is important that you only include markup for content that is on your Page.
- To help you determine which fields to map to which Schema.org properties, reference the Schema.org definition and the Google structured data reference (links are for a Product entity; use the resources for your particular entity type).
- To hide the Live Preview and expand the Code Editor and Field Reference sections, click on the Expand link in the upper-right corner of the Field Reference section.
-
Assign values to those Properties using the Field Reference.
-
When adding values, you can either use variables, or hardcode static content. Note, the option to use variables is only available when adding Schema to a Page Template. Proceed to the relevant section below:
-
Use variables:
-
Enter a “$” followed by the field name. E.g.,
"acceptsReservations": "$reservationUrl.url"- Note: Only the fields in the Field Reference will be available for dynamic mapping.
-
Enter a “$” followed by the field name. E.g.,
-
Hardcode static content:
-
Enter the value for the corresponding Property. E.g.,
"acceptsReservations":"Yes"
-
Enter the value for the corresponding Property. E.g.,
-
Use variables:
- Note: variables can’t be used when adding Schema.org markup to Finder Pages.
-
When adding values, you can either use variables, or hardcode static content. Note, the option to use variables is only available when adding Schema to a Page Template. Proceed to the relevant section below:
-
Once you have added all of the desired fields and properties, click Save in the bottom left corner.
- Note: You will not be able to save your schema if there are any syntax errors.
-
Verify that your page schema is correct.
- Click on the Preview URL link at the top of the page.
- Copy the Preview link.
- Visit Google’s Rich Results Test Tool.
- Enter the Preview link into the text box and click TEST URL.
-
Verify that everything looks correct and that Google isn’t giving you any errors.
For example, the Schema.org markup for our custom product entity might look like the following. Google requires that we map the logo, name, and one of review, aggregateRating, or offers.
{
  "@context": "https://schema.org",
  "@type": "Product",
  "description": "$description",
  "logo": "$logo.image.url",
  "name": "$name",
  "offers": {
    "@type": "Offer",
      "availability": "https://schema.org/InStock",
    "price": "0",
    "priceCurrency": "USD"
  },
  "url": "$websiteUrl.url"
}
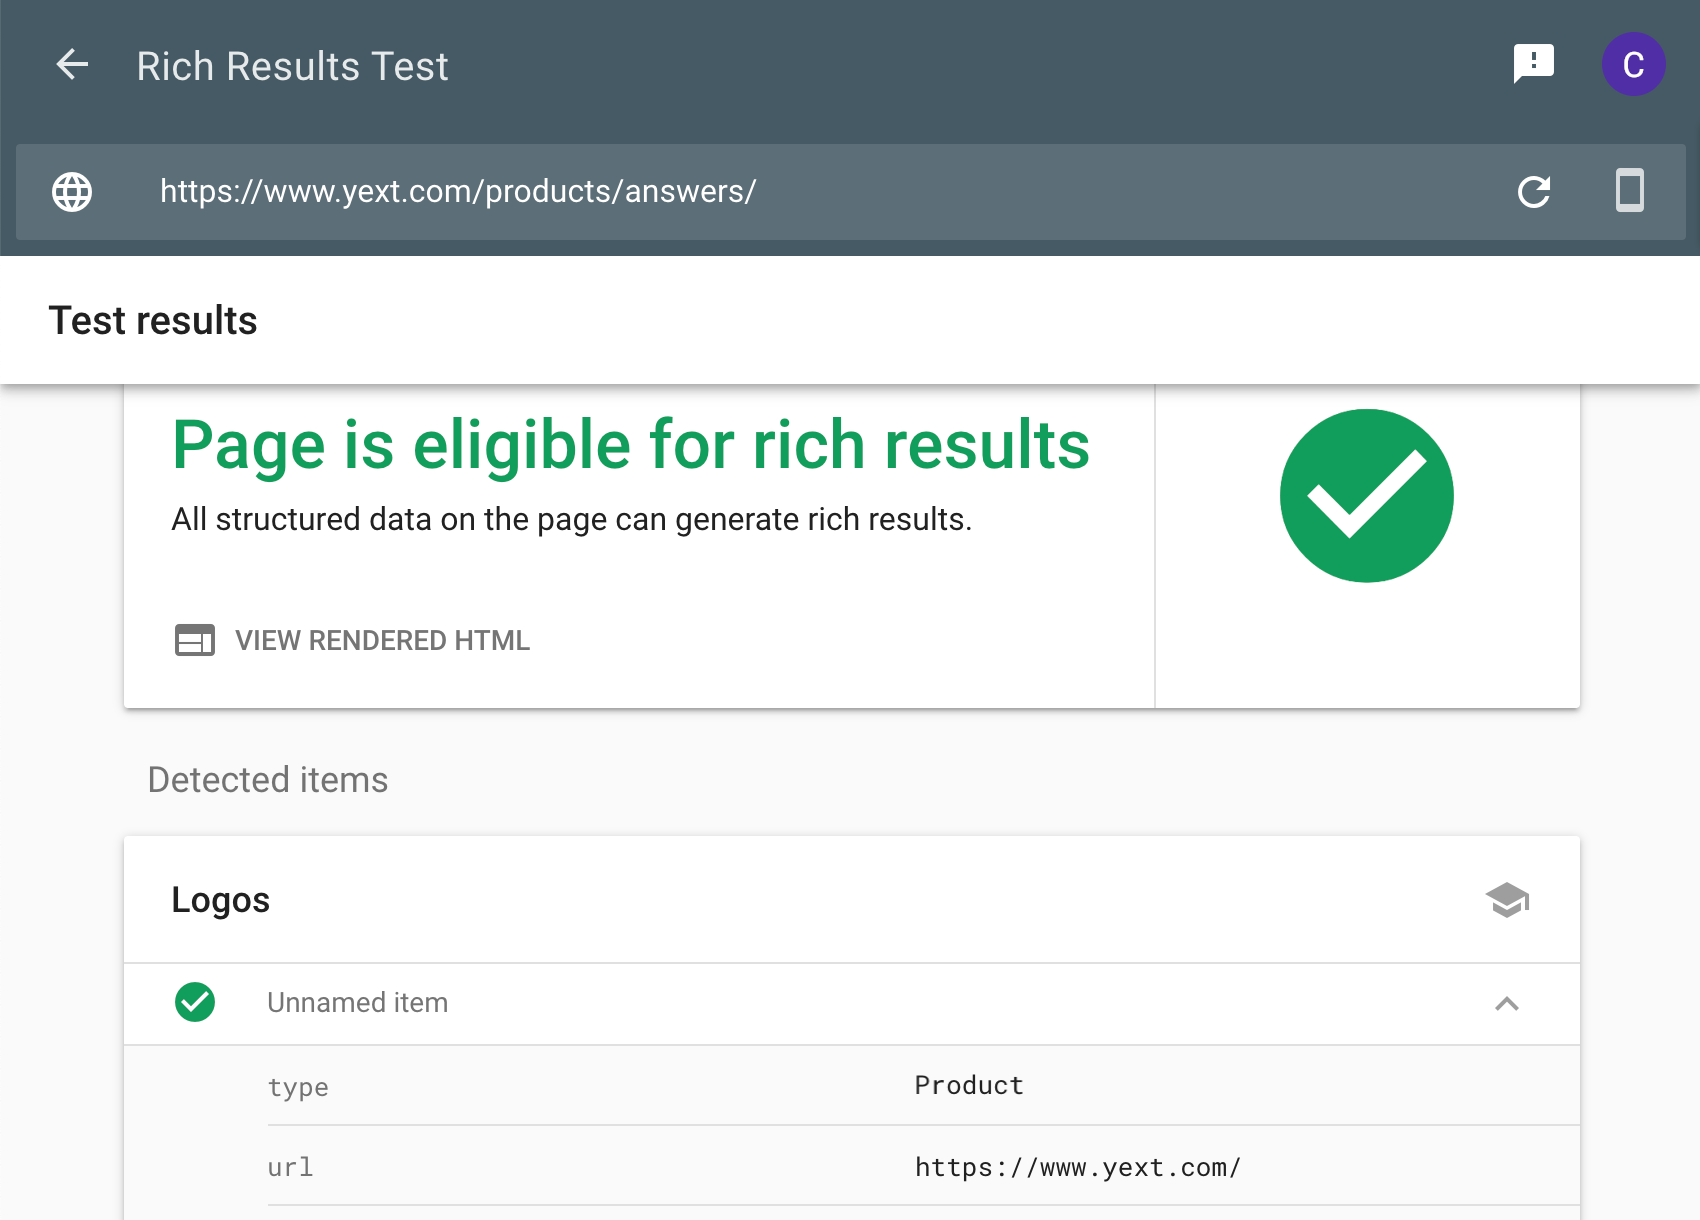
The output of Google's Rich Results Test Tool should look like this:
